vCenter Server Appliance (VCSA) is a Linux virtual machine. This includes the web client and the SSO module.
vCenter Server Appliance lets you centralize ESXi hypervisor management and other additional changes such as High Availability (HA), Distributed Resource Scheduler (DRS), and more.
Prerequisites
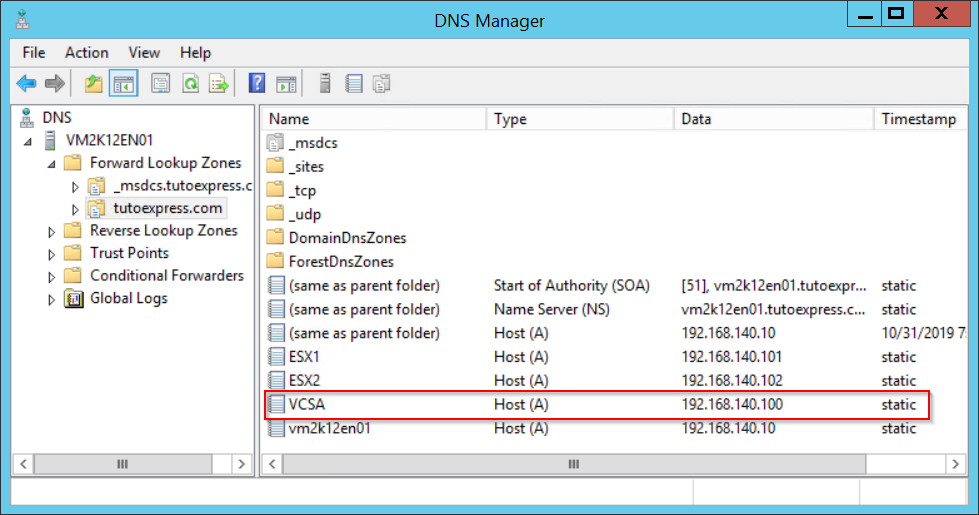
Before you begin, add a DNS entry for the installation of your vCenter Server. In this tutorial, the vCenter will be named VCSA and will have as IP address 192.168.140.100
Procedure
When you have downloaded the .ISO file for vCenter installation, copy it to a Windows machine. In my case, I copied the file to a virtual machine, located on an ESX.
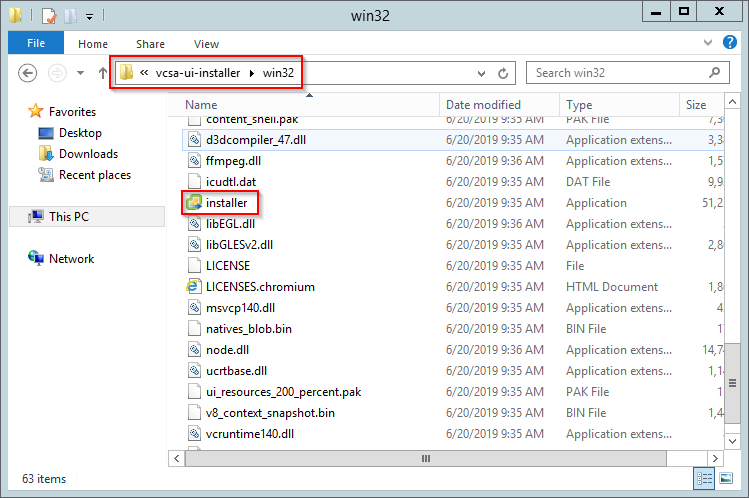
Then, explore the file ISOFile\vcsa-ui-installer\win32 and run installer.exe
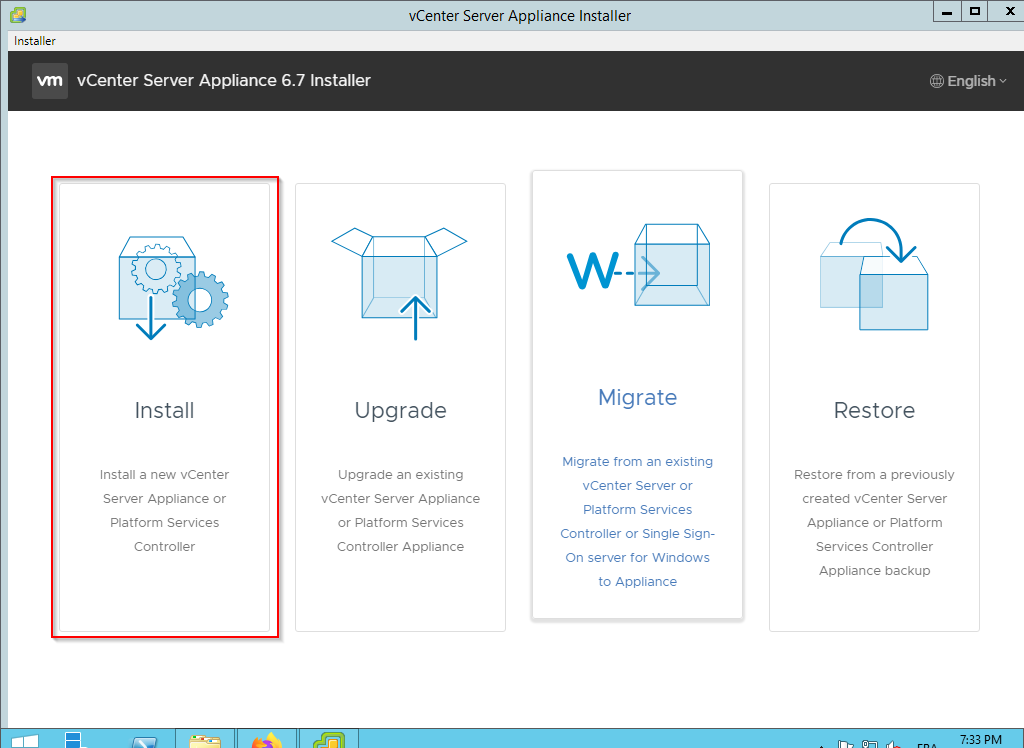
On the launch page, you have several choices: Install, Upgrade, Migrate and Restore.
We are installing a new server. We choose the Install option.
Deployment new vCenter Server Appliance (VCSA)
This is where you will deploy your Appliance. Do Next

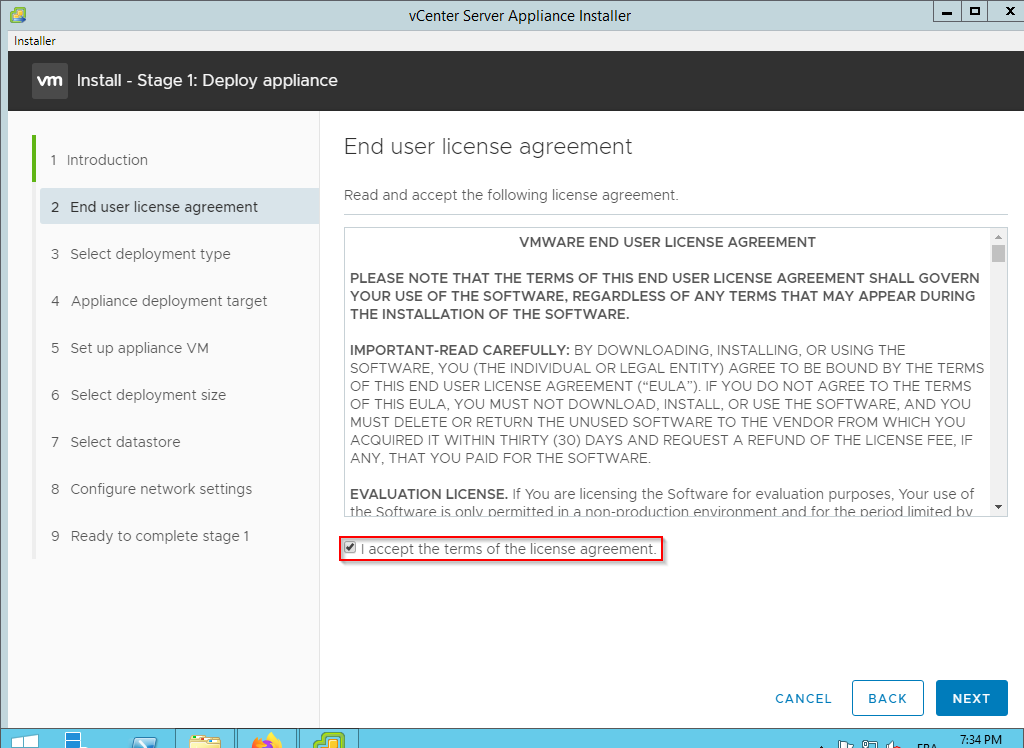
Accept the terms of the license. Otherwise, the installation will not be able to continue.
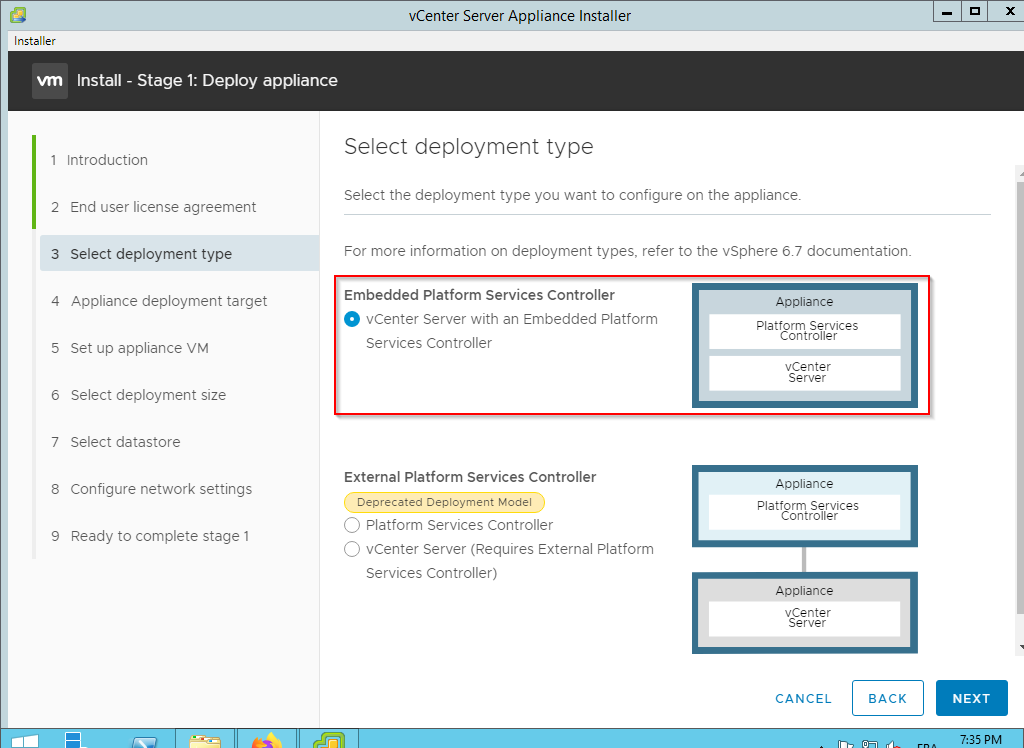
In the type of deployment, two choices are available to you:
- Install Platform Services Controller and vCenter Server together
- Install Platform Services Controller and vCenter Server separately
In our tutorial, we will install both components together.
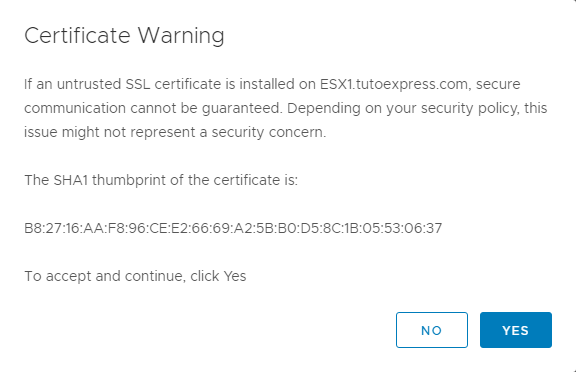
Choose the ESX on which your vCenter Server will be installed, the HTTPS port (443), and the root account of the ESX that will host your Appliance.

At validation, accept the certificate to continue.
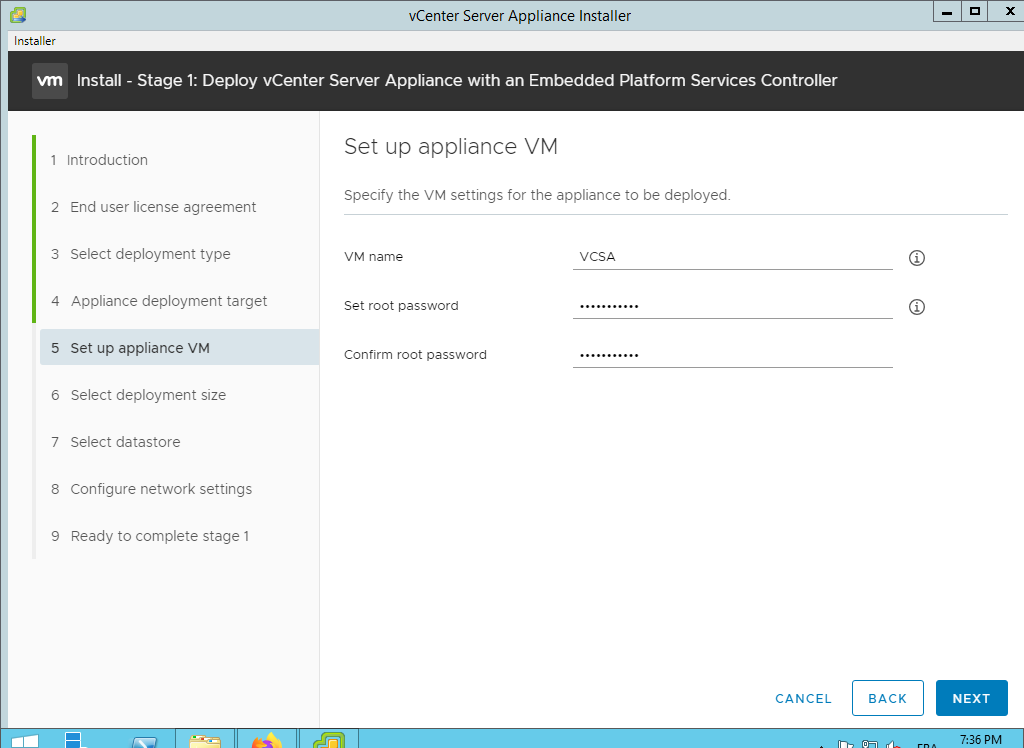
Fill in the name of your vCenter Server Appliance and its root password. This will allow you to connect to the VCSA server.
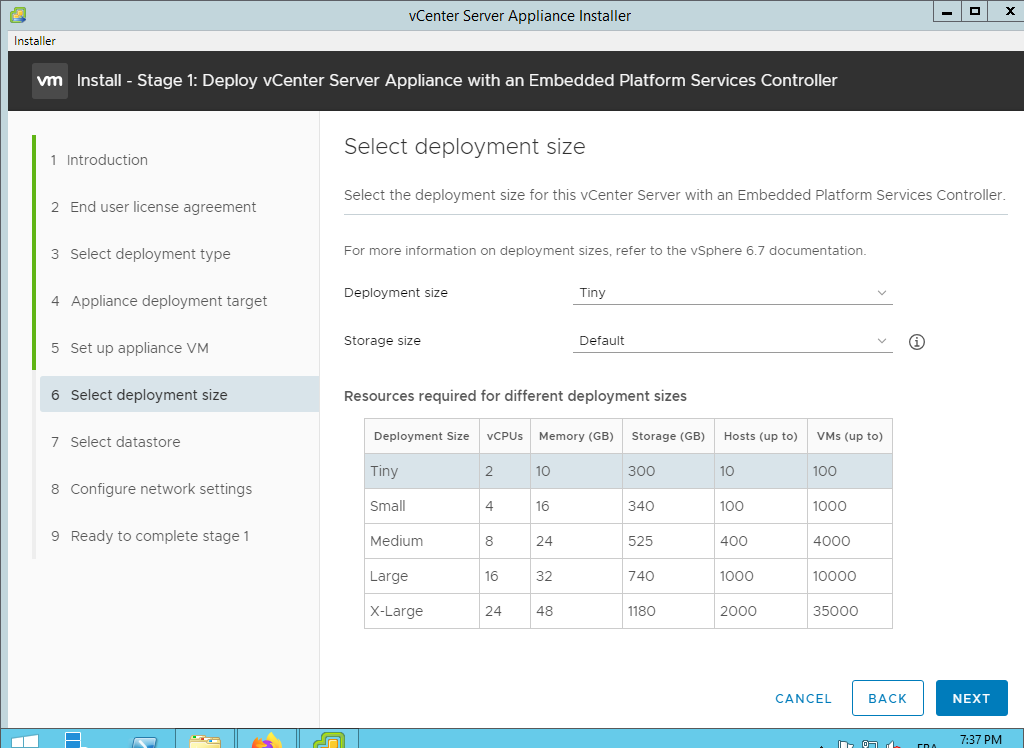
Define the deployment size according to the size of your infrastructure
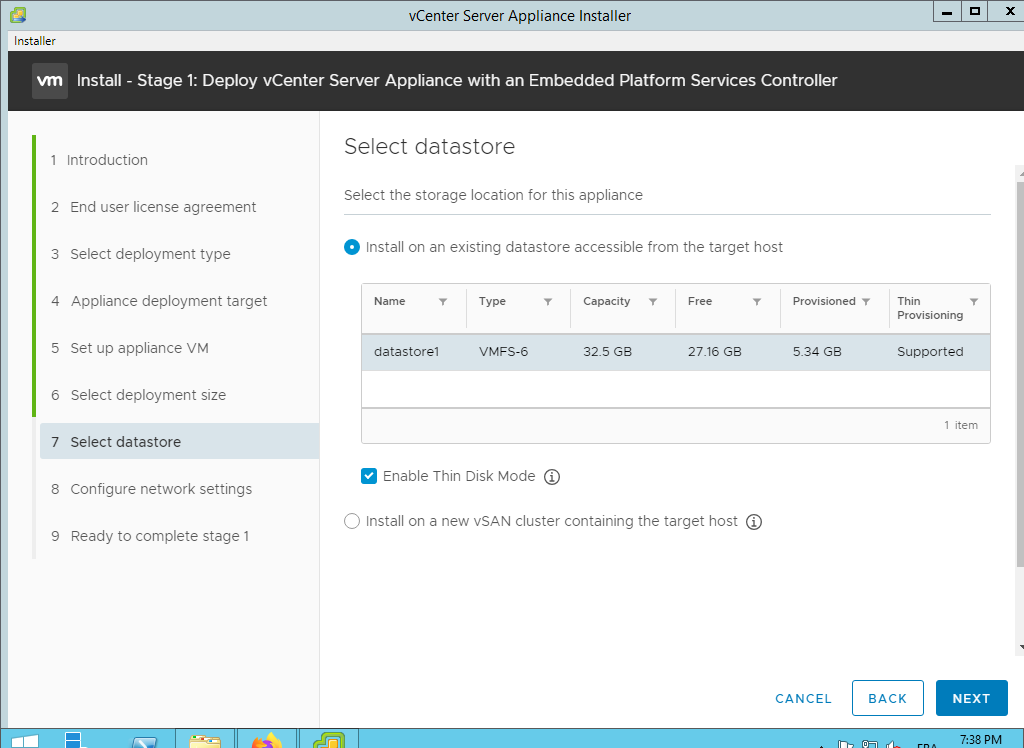
You have the choice to select the storage on which to place the VCSA data. Here we only have one choice. In your case, you will probably have several discs. It is recommended to install the vCenter on a shared disk of type NAS, SAN…
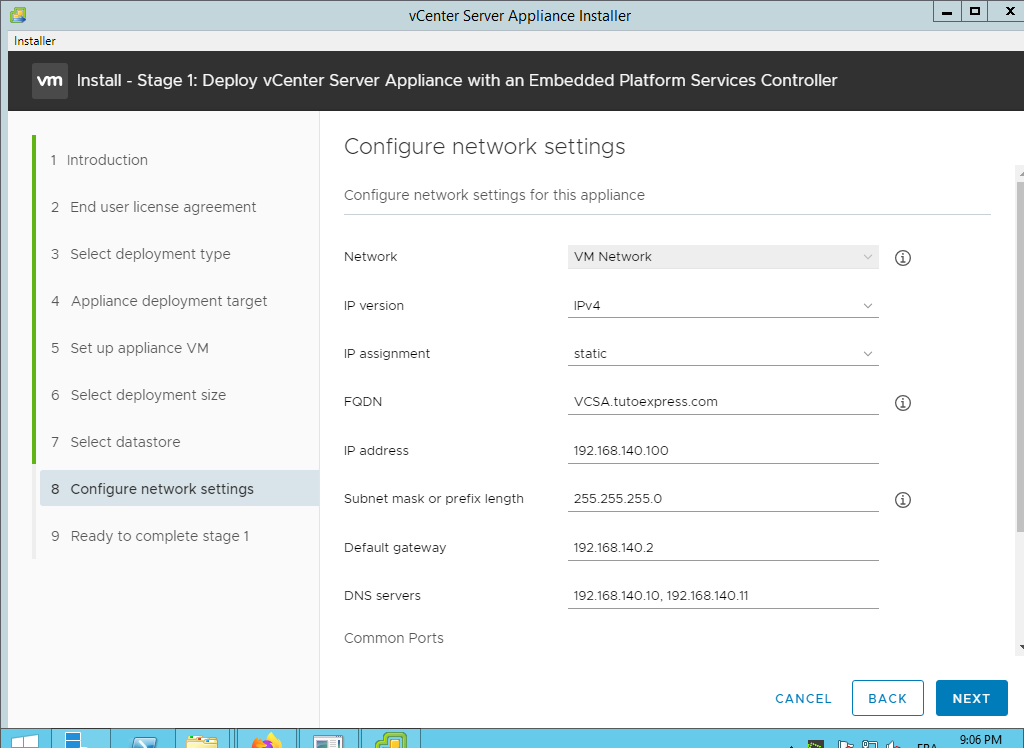
Fill in the information that will be used to configure your Appliance. Make sure that the DNS entry is configured.
Then, check the configuration items and confirm to start the installation.
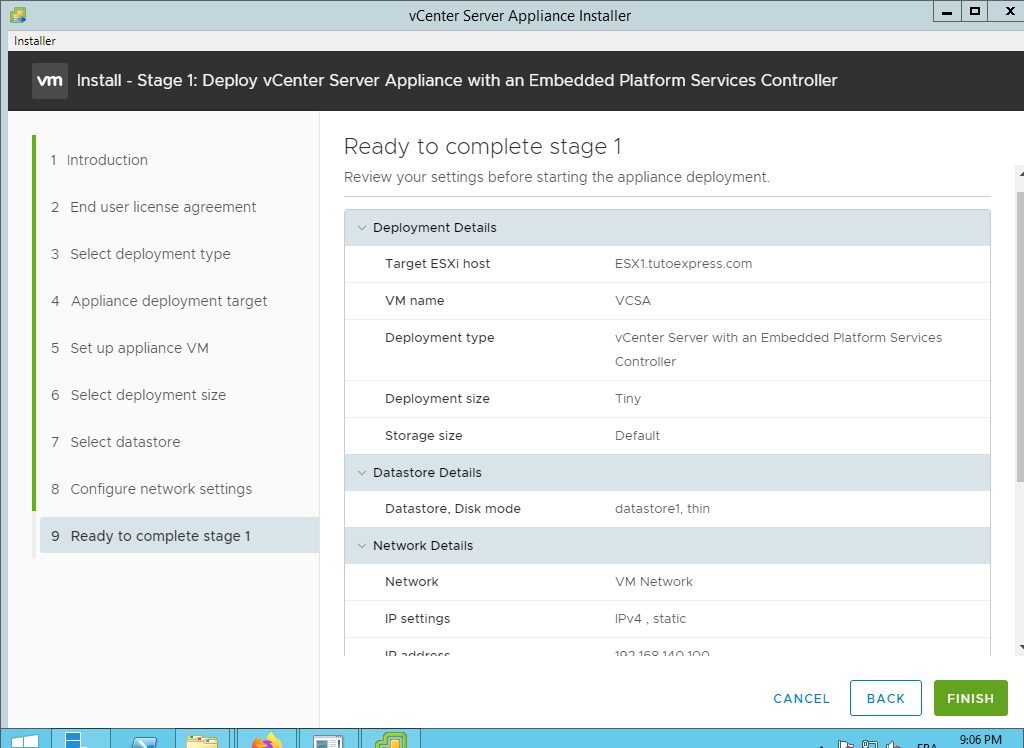
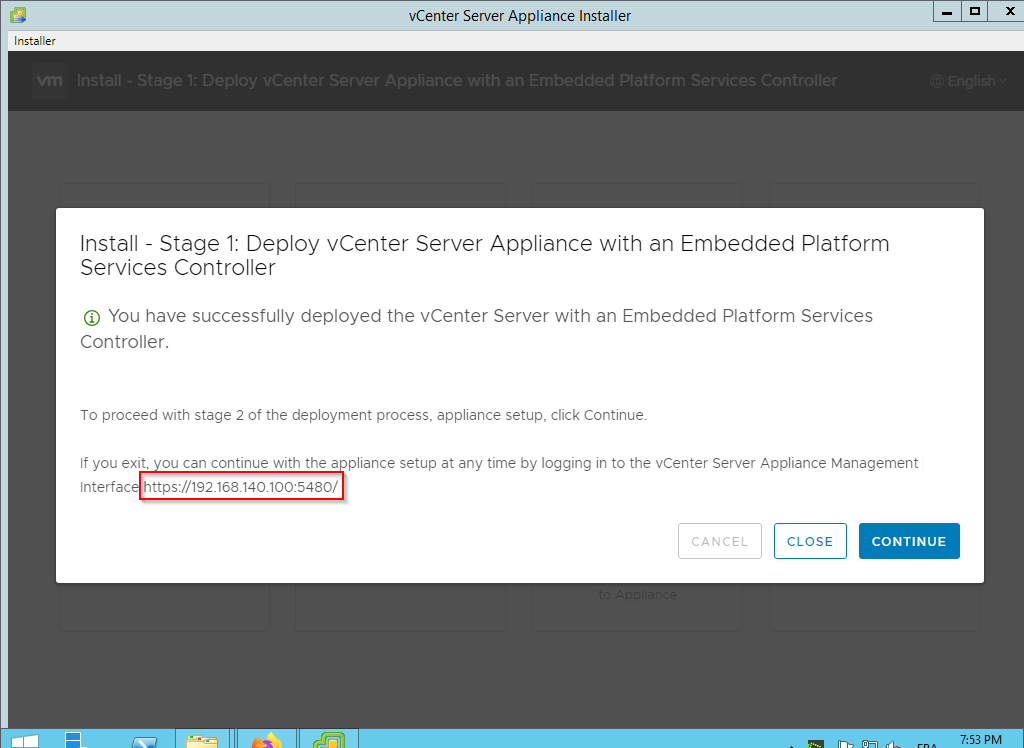
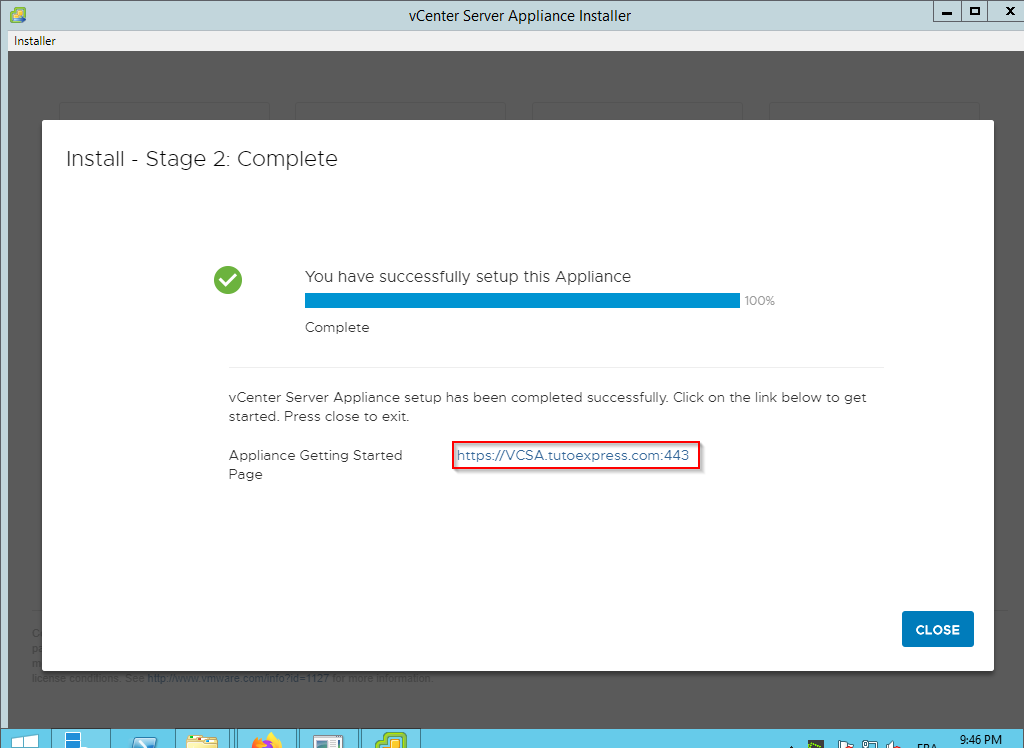
When the installation is complete, you can continue to configure some settings for your vCenter.
If you leave the wizard, you can go back to the configurations from the web address https://vCenterIPorName:5480
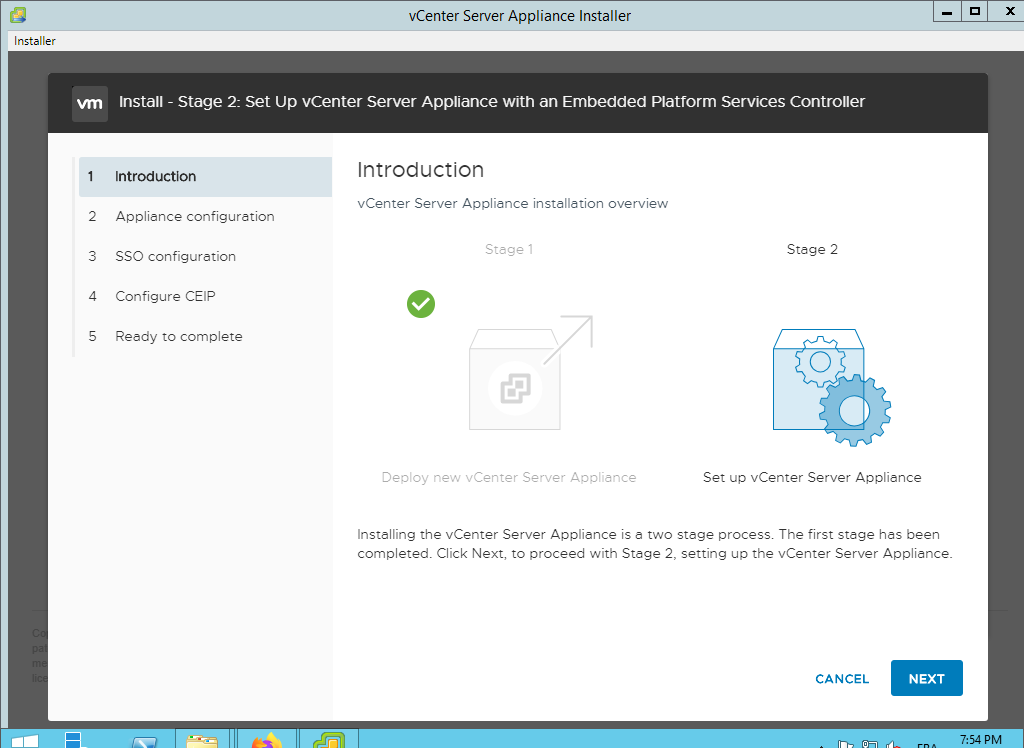
Set up vCenter Server Appliance
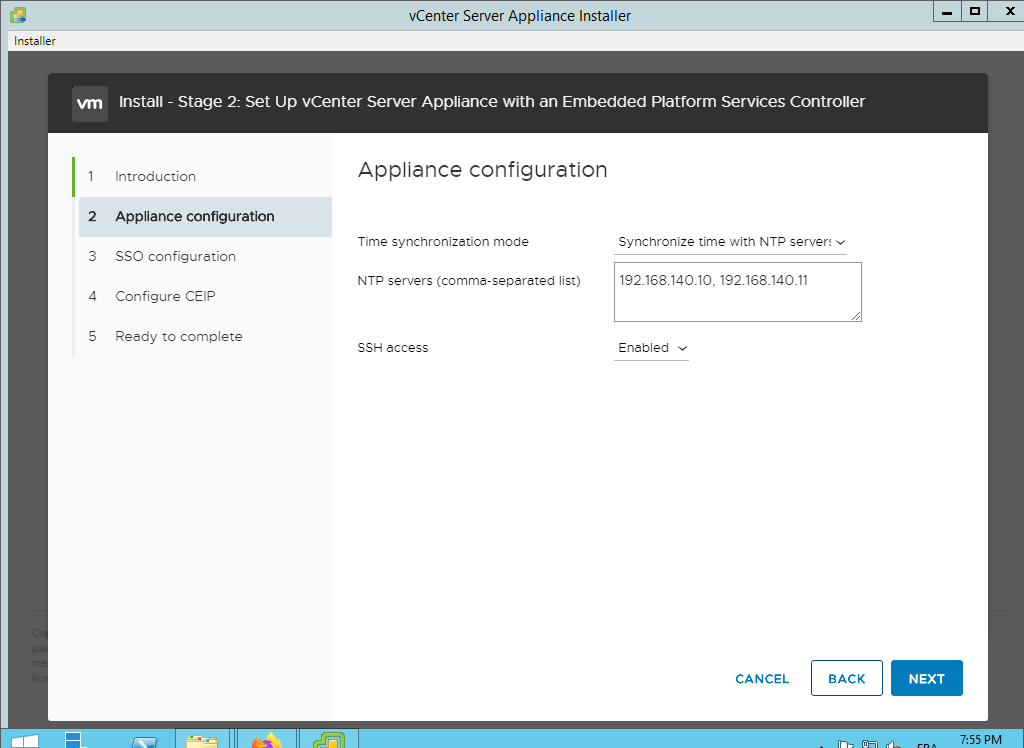
Now, configure your vCenter Server
If you have an NTP server, fill it out.
I decided to enable SSH access. If needed, you can enable or disable it once your server is installed.
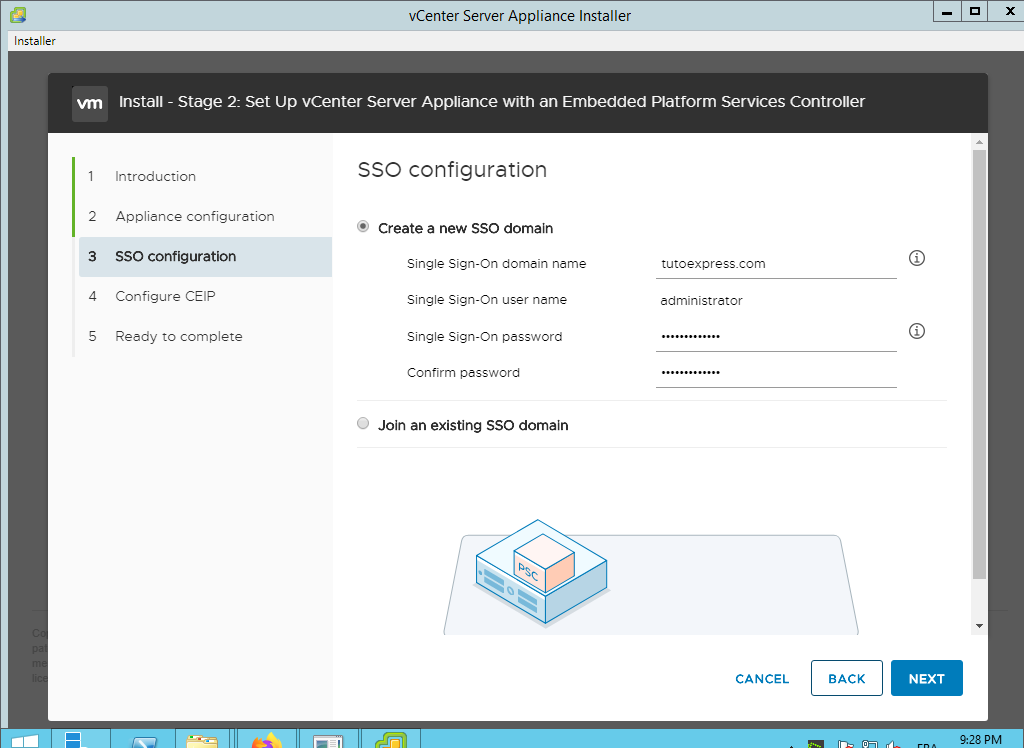
Create a new SSO domain. The password will allow you to connect to the vCenter from the web interface (443)
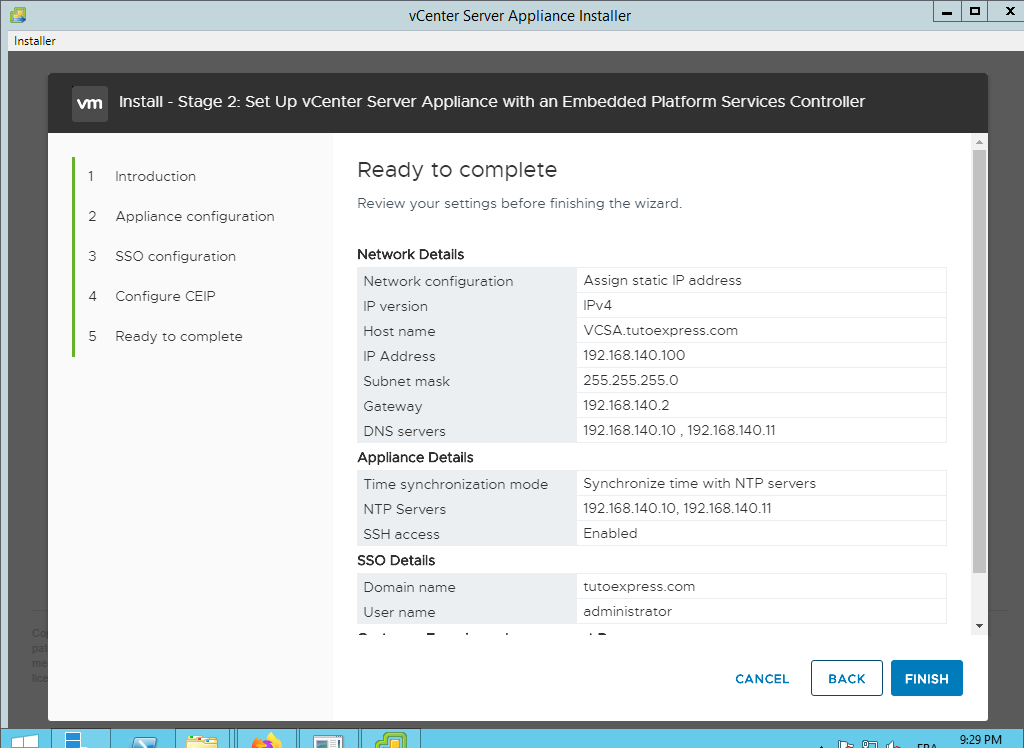
Then, check the configuration items and validate
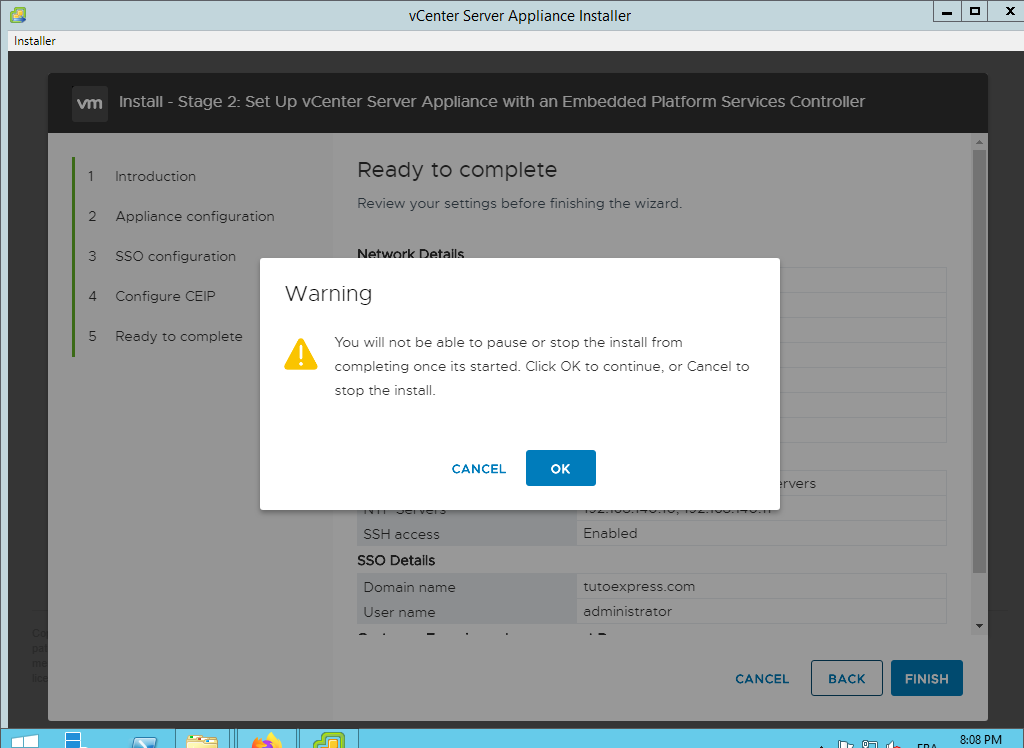
The deployment is in progress … Wait a few minutes
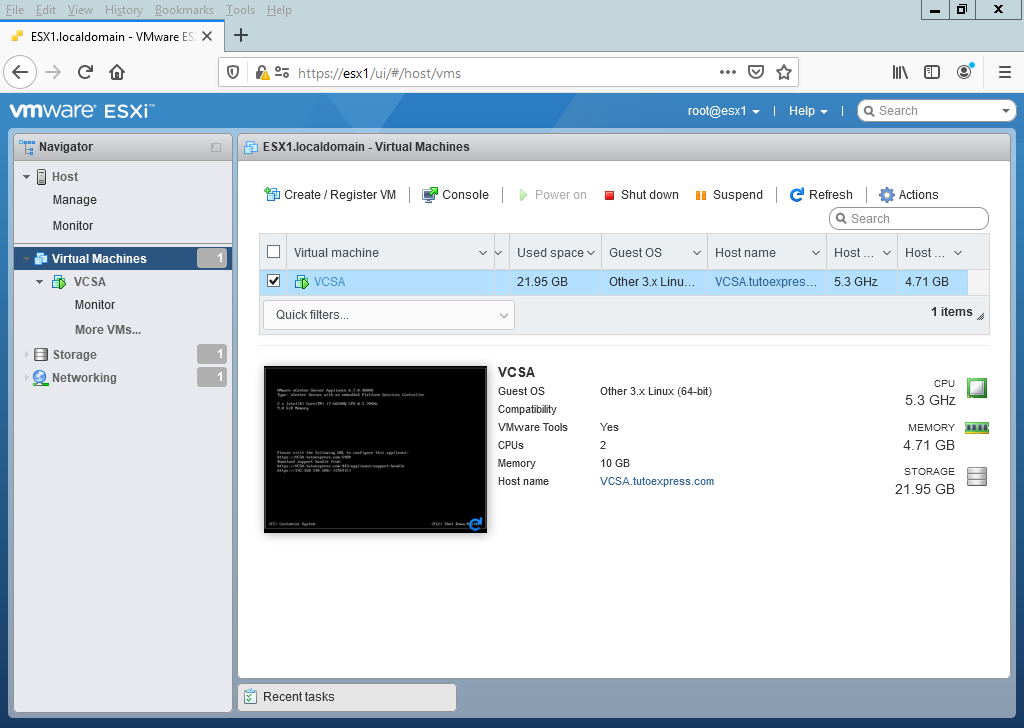
You can see the creation of your machine on your ESXi system
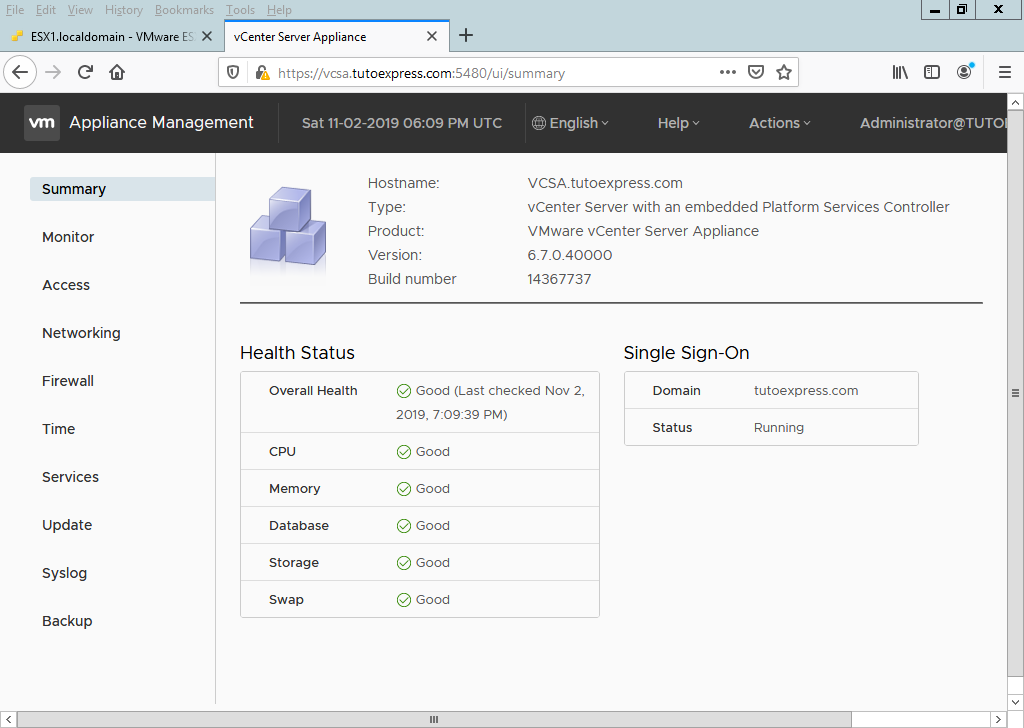
You have the option to modify the settings previously configured from the web address: https://vCenterServerApplianceName:5480
Finally, log in to your web Appliance https://vCenterServerName:443 with the SSO account
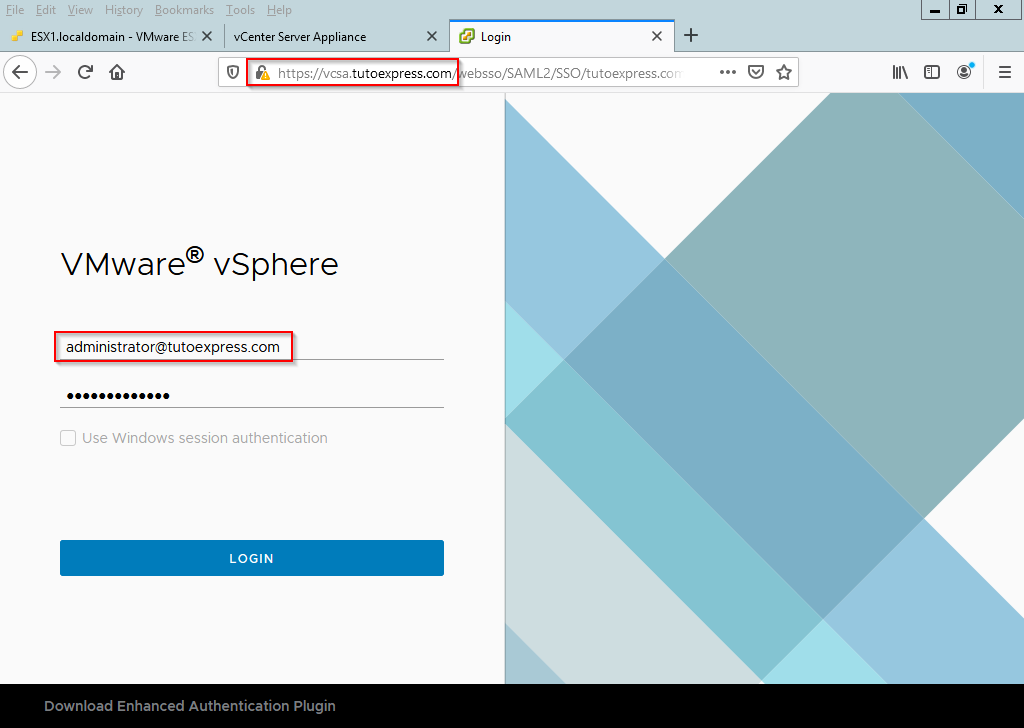
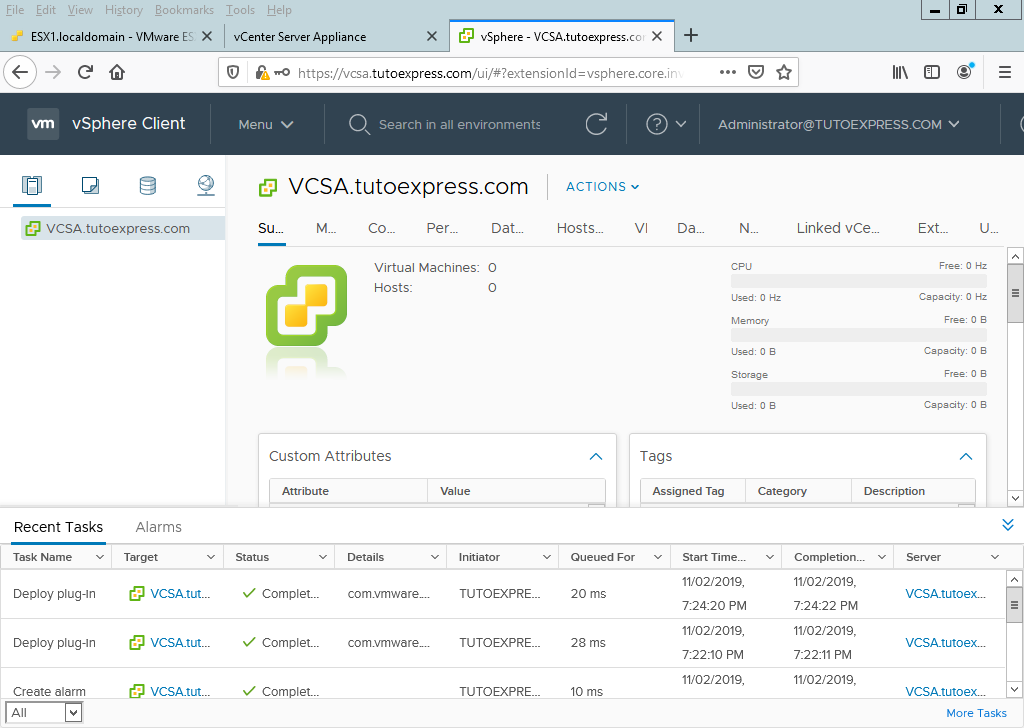
Now, you can use your vCenter