The vCenter Server provides centralized visibility and simplified, efficient management of your virtual infrastructure.
When you connect your ESXi to your vCenter Server, you can view, add, modify or delete the elements associated with your various ESXi (virtual machines, networks, storage, configurations, etc.) from the same console.
The vCenter Server also provides additional features, in order to provide HA (high availability) mechanisms, load balancing of DRS (Distributed Resource Scheduler) hosts and others….
You can follow the installation of the vCenter Server Appliance here
Procedure
First connect to the web interface of your vCenter Server: https://VcenterServerName.
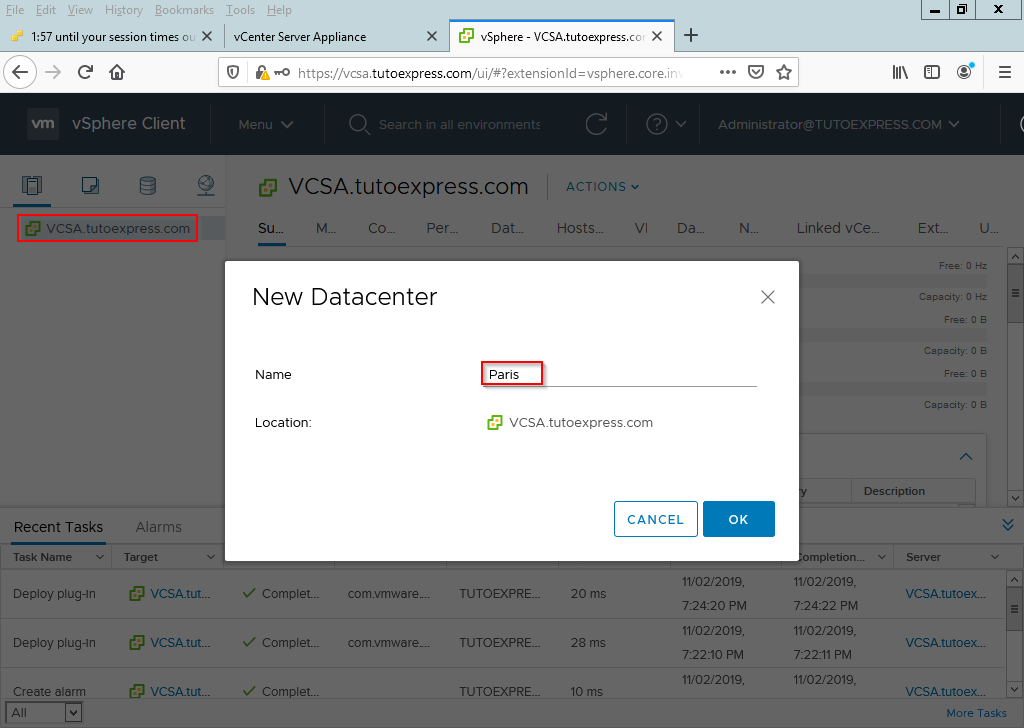
First, add a Datacenter to host your ESXi. Right-click on your appliance and choose New Datacenter. I appoint this one Paris to host equipment located in Paris.
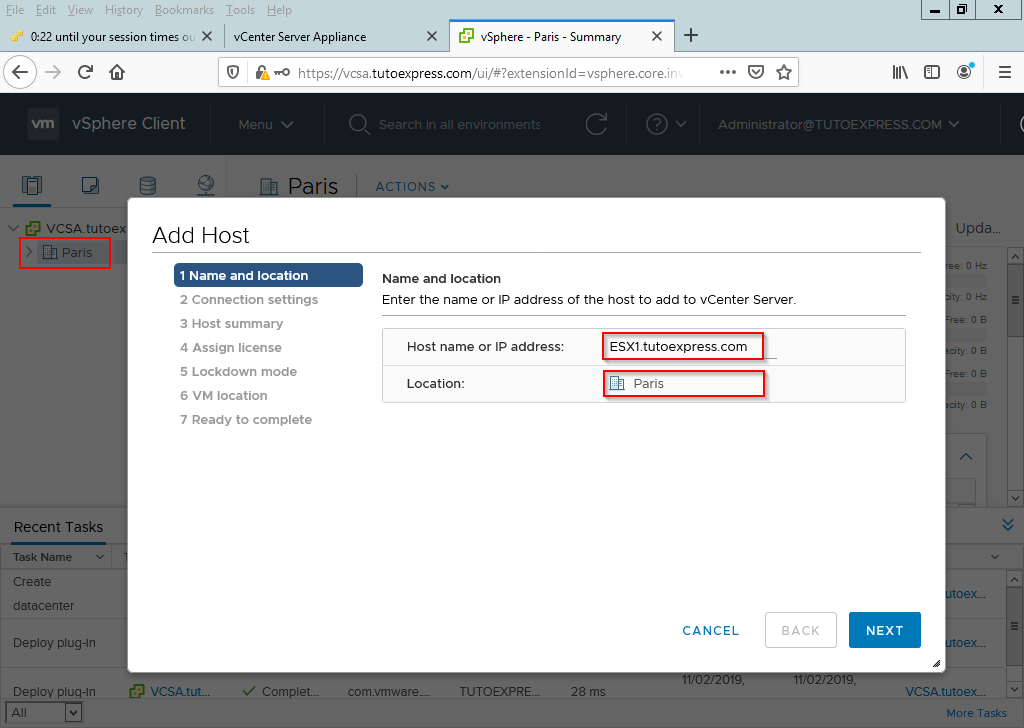
When your Datacenter is created, right-click on it and choose Add Host. To add a defined ESX, specify its DNS name or IP address if applicable.
Then, fill in the root account information. This information will be used to establish the connection between the vCenterServer and the ESXi.
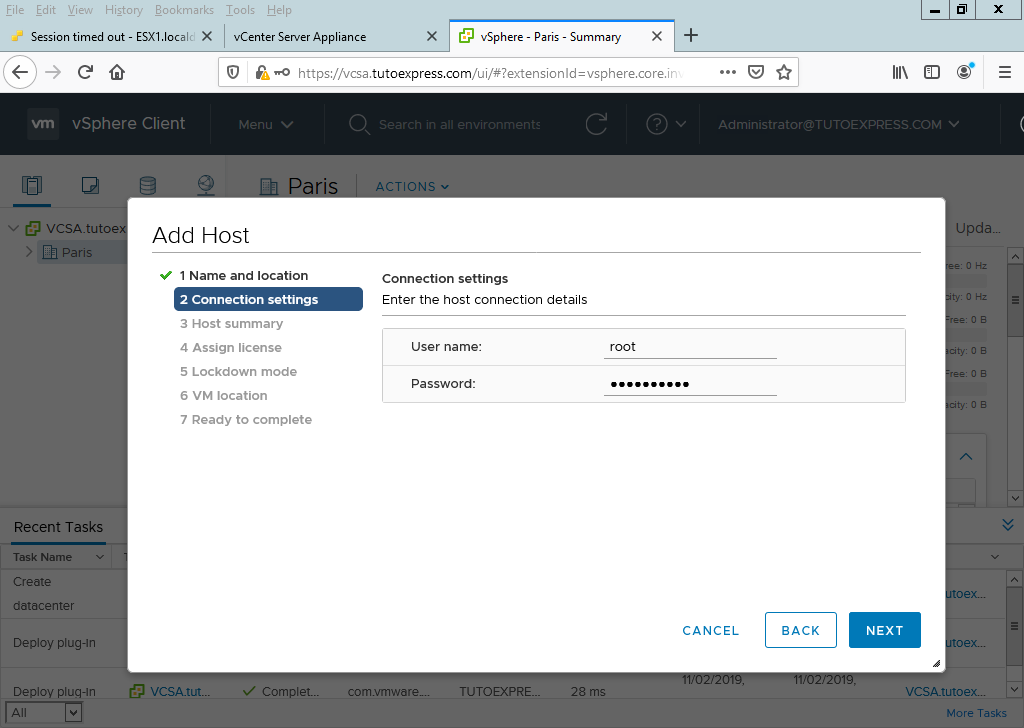
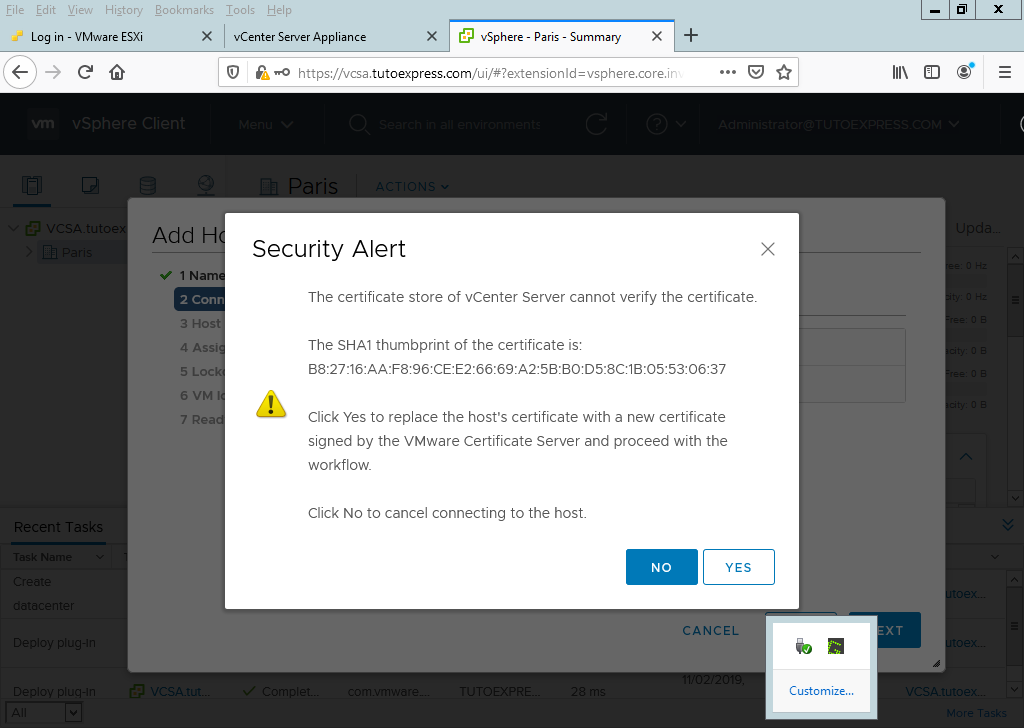
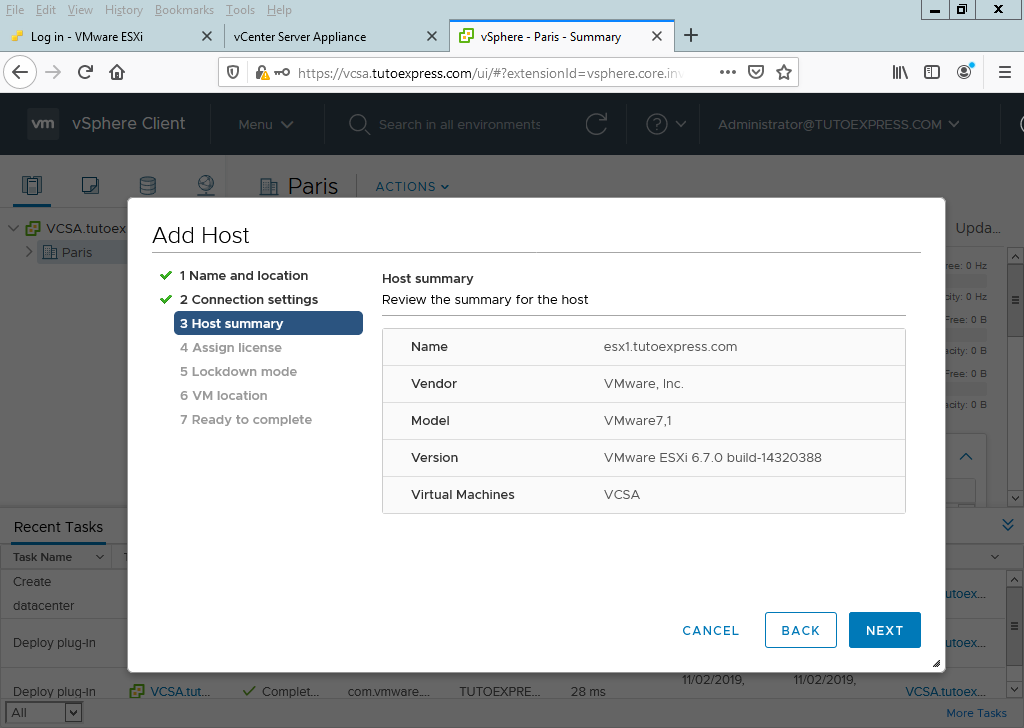
A brief summary appears. Press Next to continue the process.
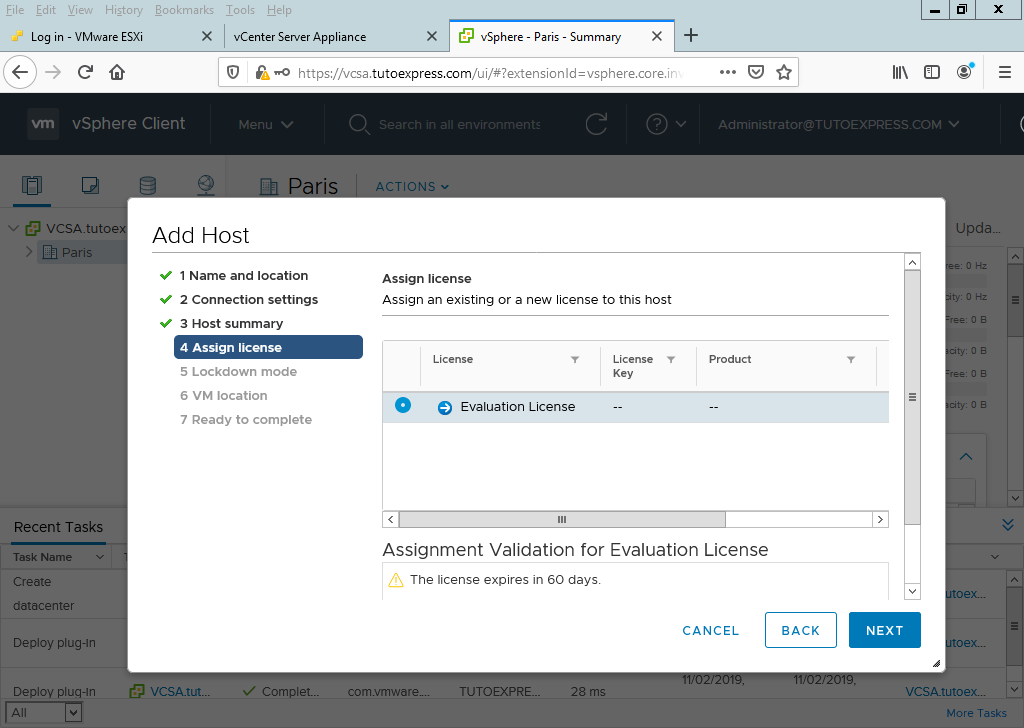
I use an evaluation version. This one is valid for 60 days. After this time, the ESXi will automatically be disconnected from the vCenter Server. In your case, you will probably have your license number.
Then, choose your Lockdown mode strategy. This mode prevents connection to ESXi from vSphere Client. We will not use this option here.
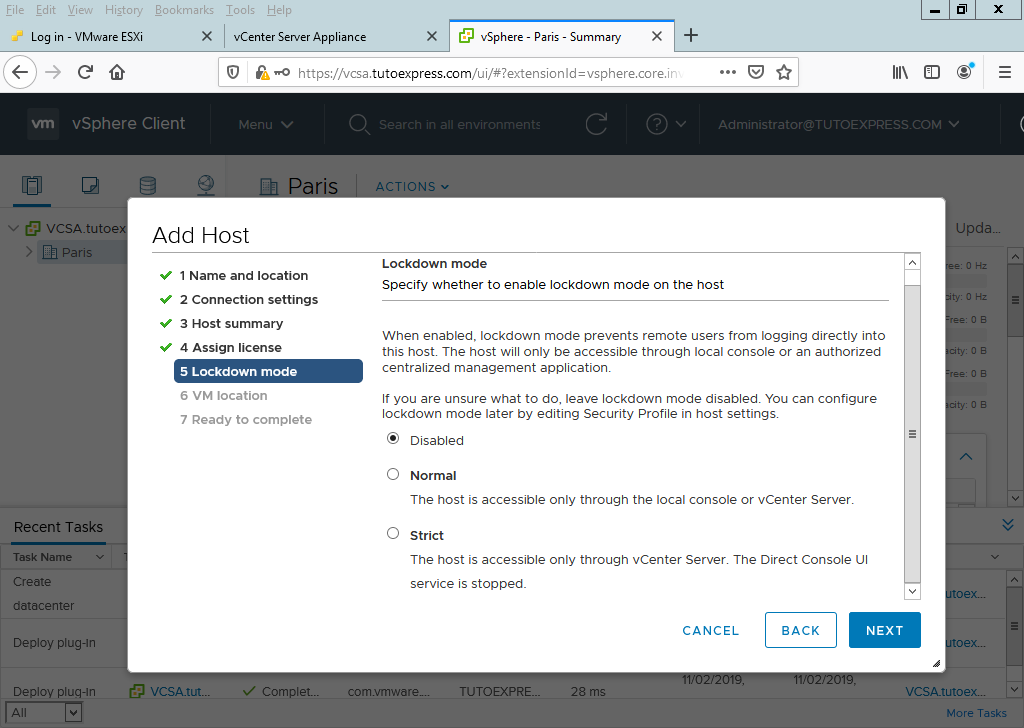
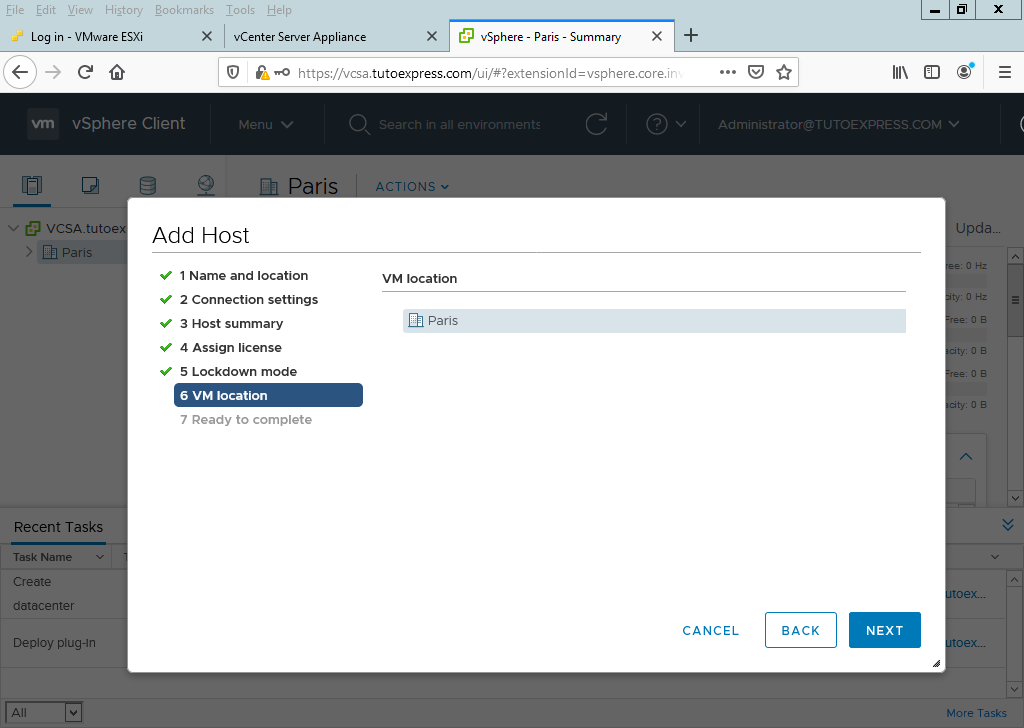
When you add an ESXi to a vCenterServer, all machines hosted on the ESXi are visible on the vCenter. Here, the virtual machines of our ESXi will be located on the “Paris” Datacenter that we created previously.
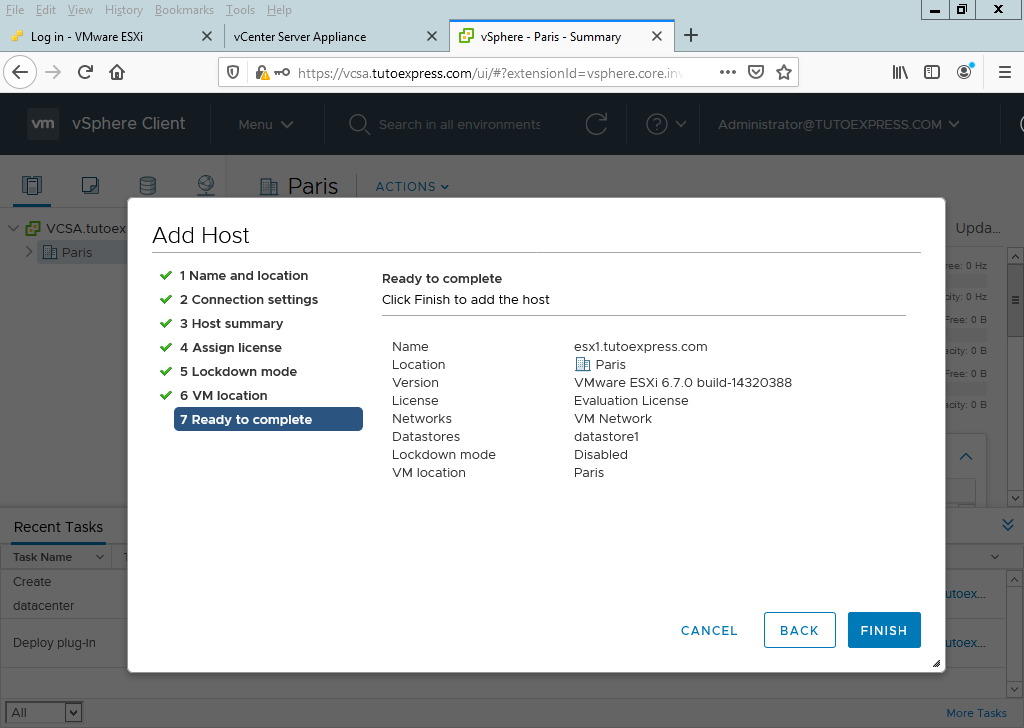
A summary appears concerning the actions that will be carried out. If everything is correct, do Finish
Your ESXi and its components are connected, and visible from your vCenter Server after a few seconds.
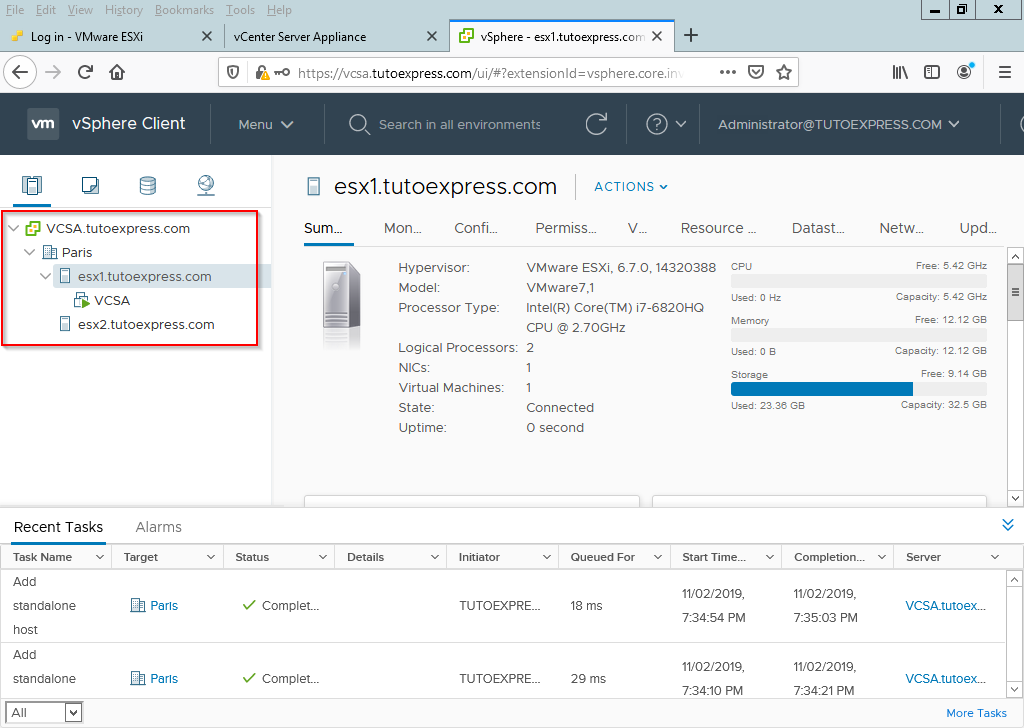
As a result, you can configure the elements of your ESXi from the vCenter Server console.

