The AlwaysOn feature is a high availability and disaster recovery solution, providing an alternative to mirroring databases. It supports a failover environment.
In this tutorial, we will implement the SQL Always On function with a version of SQL Server Enterprise 2014 and Windows Server 2016.
This is the 4/4 part of the “SQL Server Cluster and Always On step by step” process:
- Windows – Install SQL Server Management Studio (SSMS)
- Windows – Install a Failover Cluster on Windows Server 2016
- SQL Server – Install SQL Server Enterprise 2014 on Windows Server 2016
- SQL Server – Configure SQL AlwaysOn Cluster with SQL Enterprise 2014
Procedure
Enable the SQL Always On feature
/ ! \ This step must be performed on all servers whose AlwaysOn technology you want to use
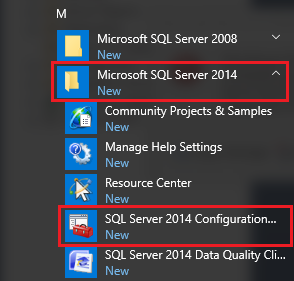
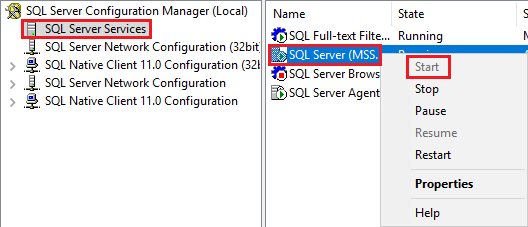
To get started, run SQL Server 2014 Configuration from the Windows “Start” menu.
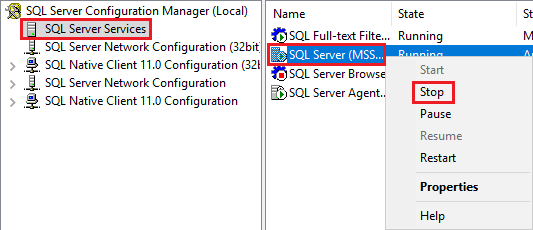
Then, stop the SQL Server (MSSQLSERVER) service from SQL Server Services
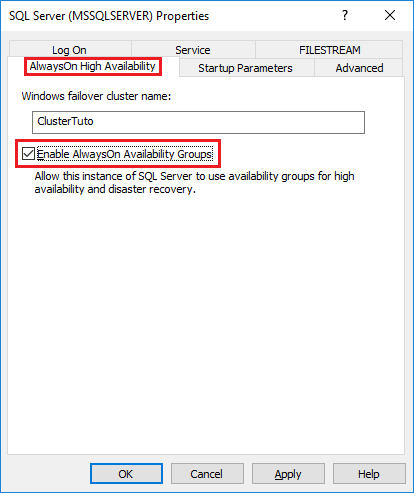
When the service is stopped, go to the properties of it. In AlwaysOn High Availability, check Enable AlwaysOn Availability Groups
Finally, restart the SQL Server (MSSQLSERVER) service
Create the database
/ ! \ The following operations are to be performed on a single server. This server will be the master of the availability group.
First, we will create the database on which we will work together.
Log in to your SQL instance with the SSMS tool : install SSMS on Windows Server
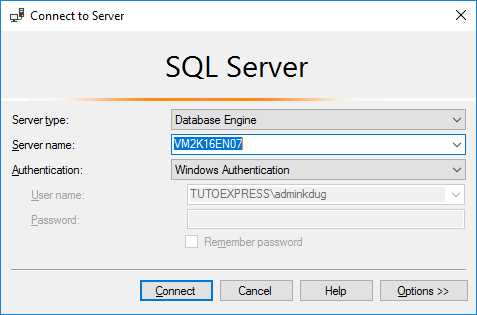
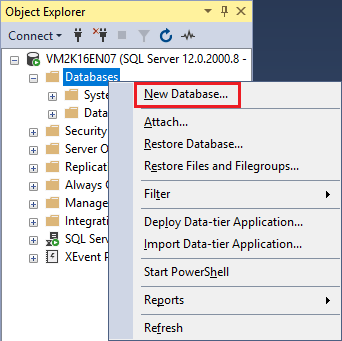
When connected, create a database.
Right-click on the Databases directory, then New Database …
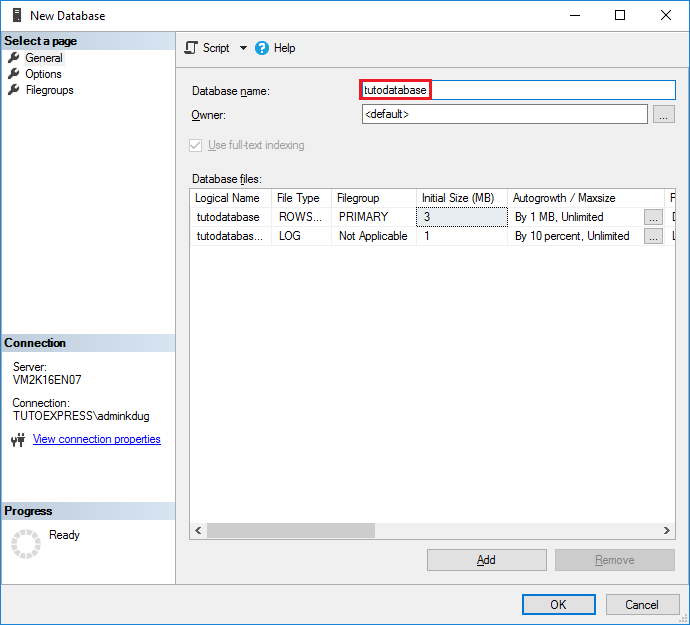
Fill in the name of your database and confirm.
Before you can use AlwaysOn technology on the new database, you will need to perform a full backup of it. This is a prerequisite before you can use it in an availability group.
Right click on the new database, Task and then Back Up …
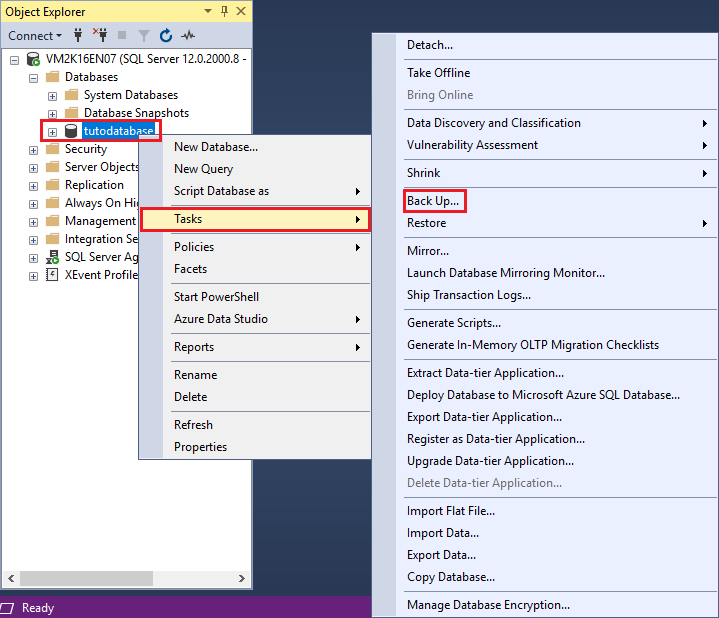
The back up page opens with information about the type of backup and its path. Leave the default values and validate to start the backup.

When the backup completes successfully, this message appears:

Creating the Always On Availability Group
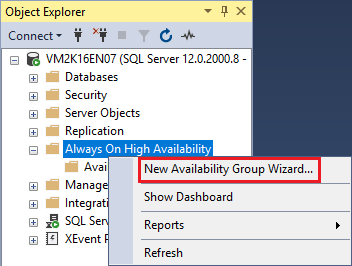
If you’re not, log in to your SQL instance. Then, right-click on Always On High Availability and New Availability Group Wizard …
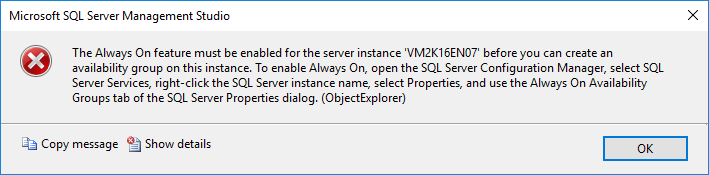
If the following message appears, you have not enabled the Always On feature as shown at the beginning of the procedure : Enable the SQL Always On feature
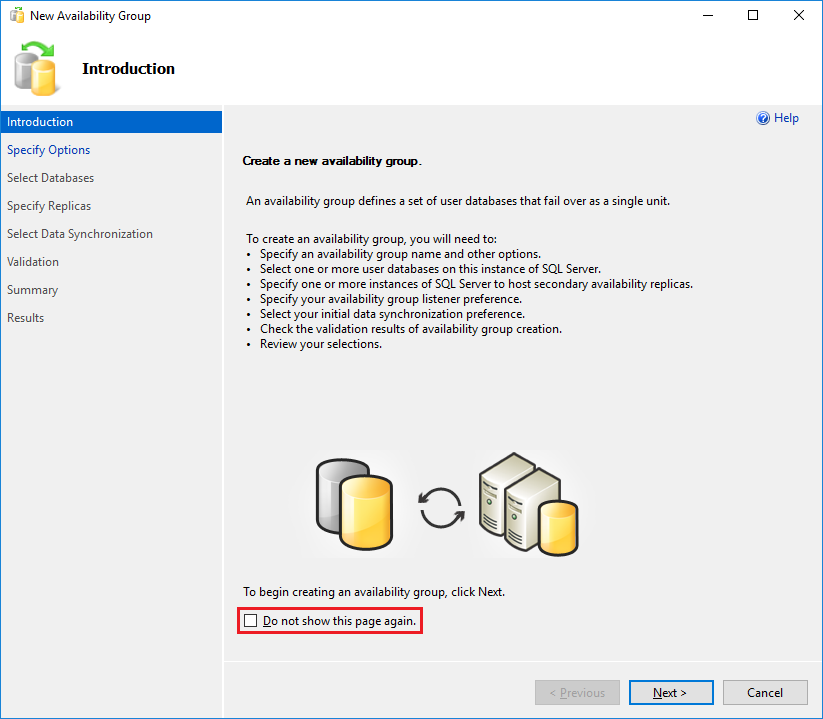
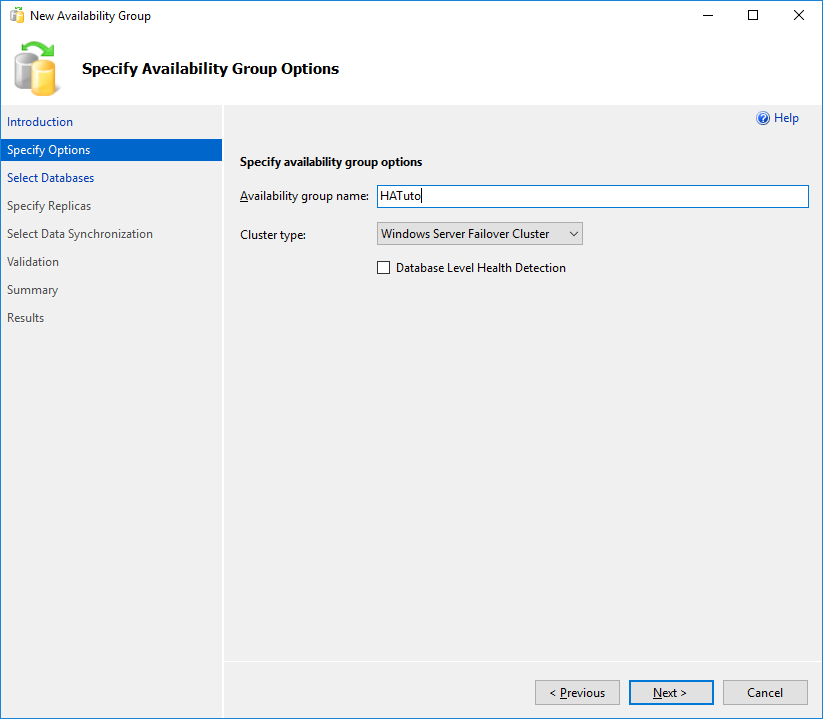
The introduction page appears. You can no longer display it by checking the box Do not show this page again
Specify the name of your availability group. In this tutorial, it will be named HATuto
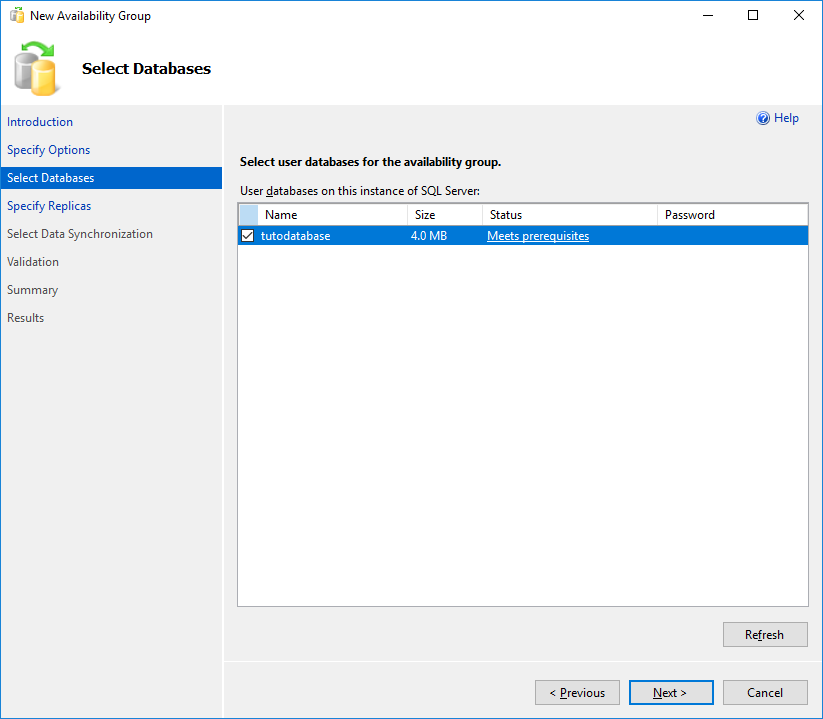
Select the database to be included in this group. This one is usable because we realized a full back up.
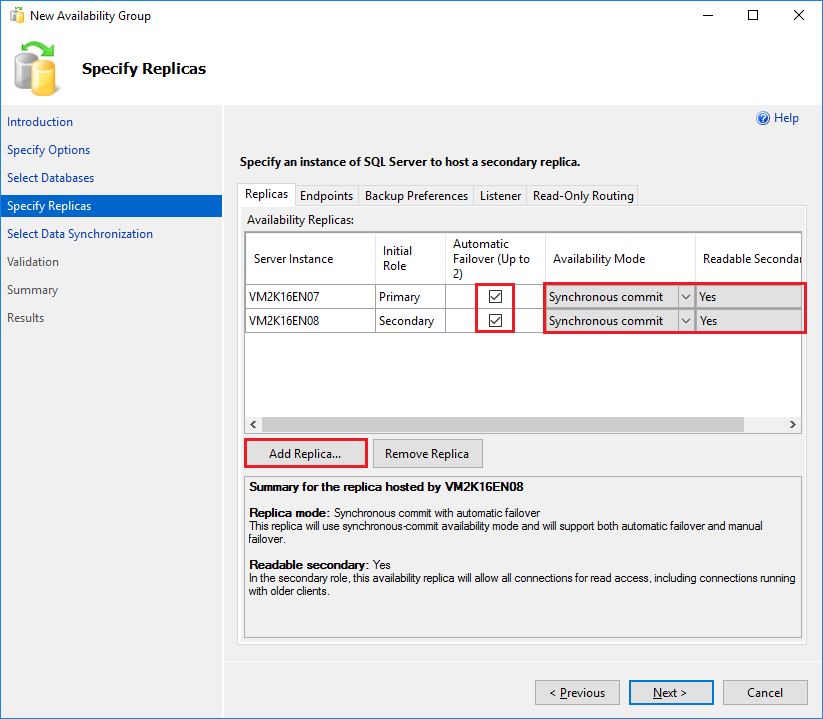
Now, click Add Replica … to add a secondary server.
Then check the boxes in Automatic Failover.
Pass the Availability Mode option to Synchronous commit and Readable Secondary to Yes.
Then, validate your choices
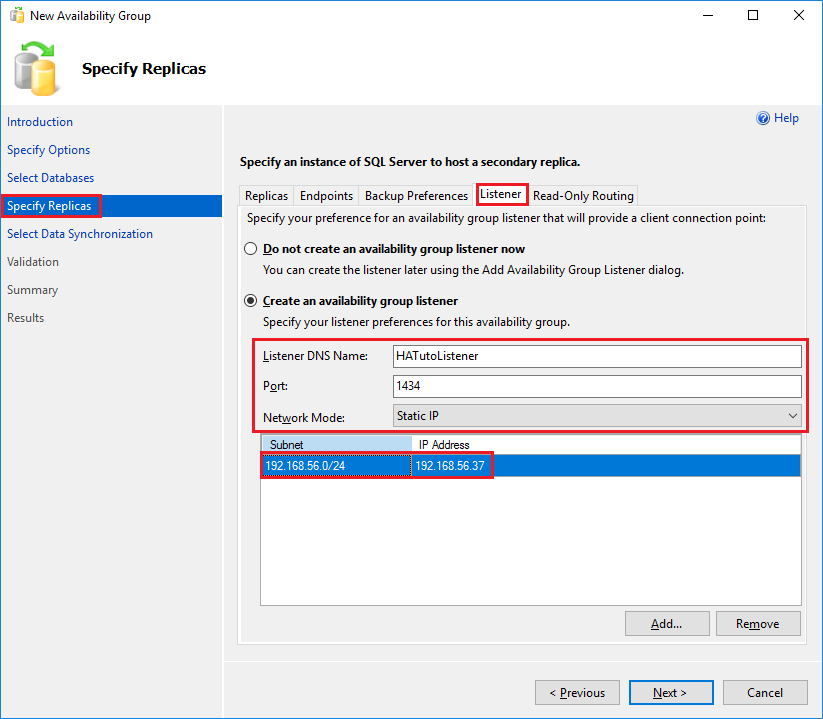
Now check Create an availability group listener.
Name your Listener DNS Name. This is the one that will contact your Always On cluster. Fill in the communication port number and the IP address of your group. The object will be created in your Active Directory domain and a DNS entry will be added.
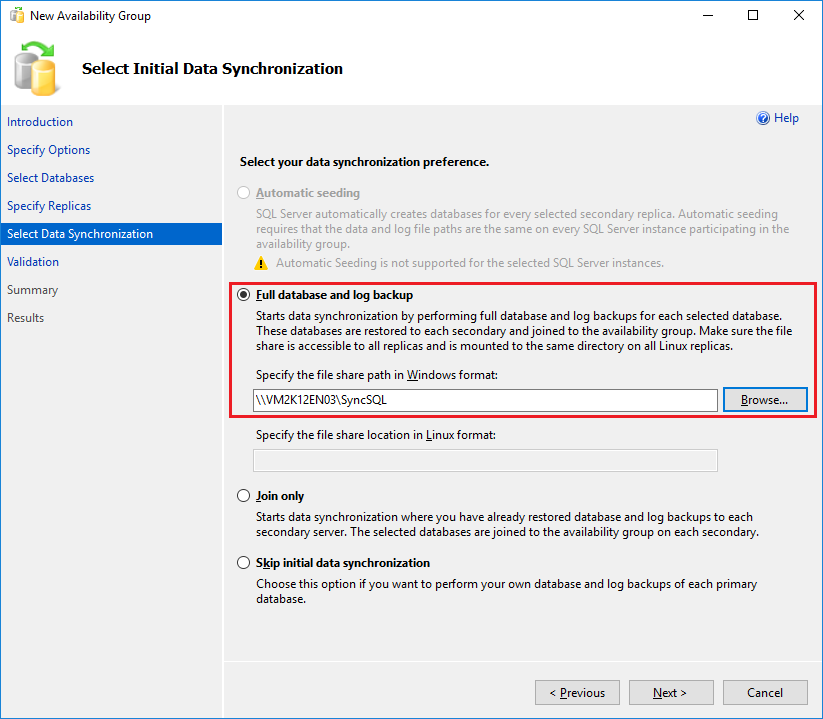
Then, check the box Full database and log backup & fill in a share allowing the exchange of files. This directory will only be used once to synchronize the availability group.
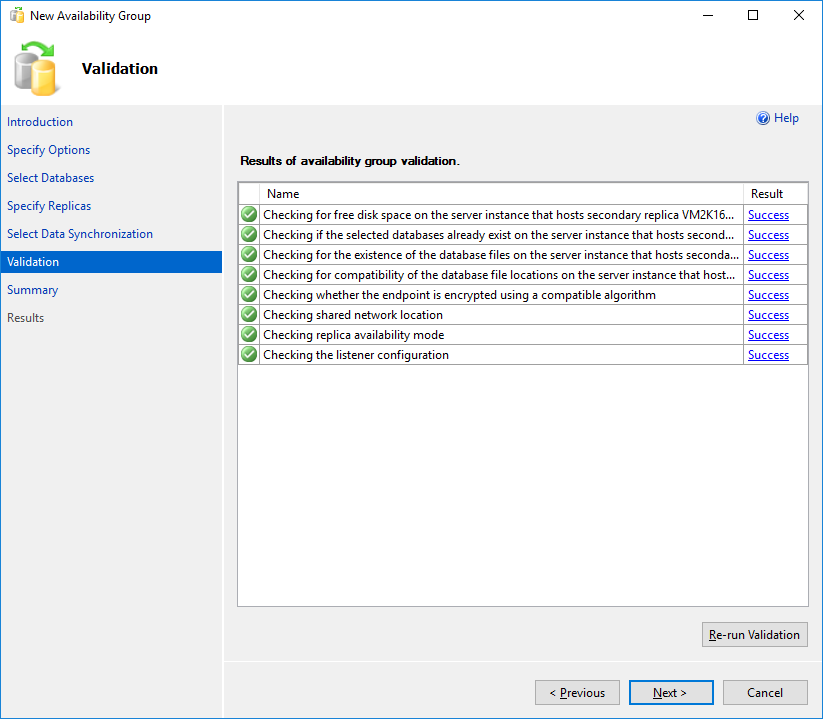
During your validation, a check is made
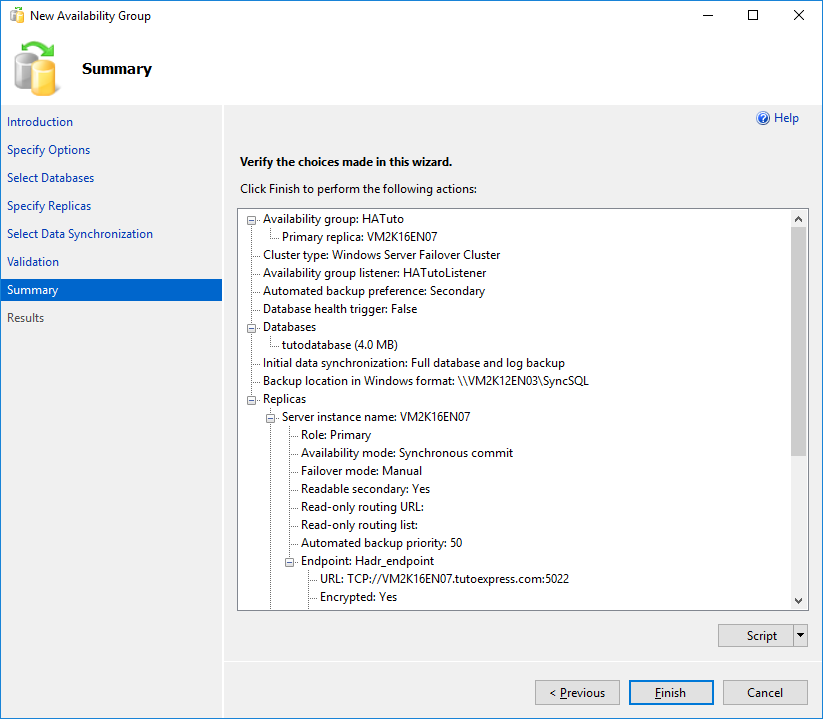
Finally, a summary appears. Check its contents before validating.
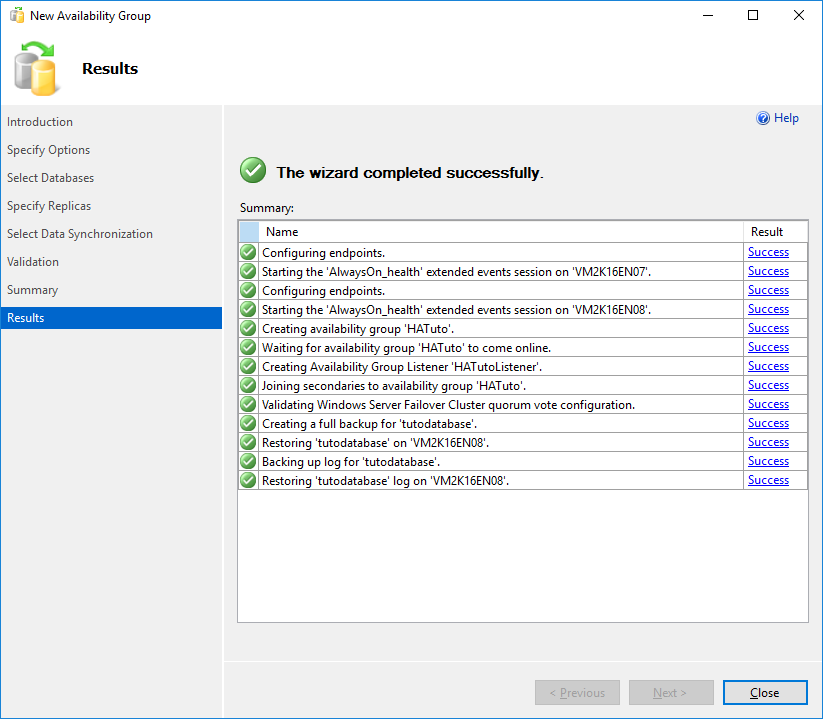
Your availability group has been created
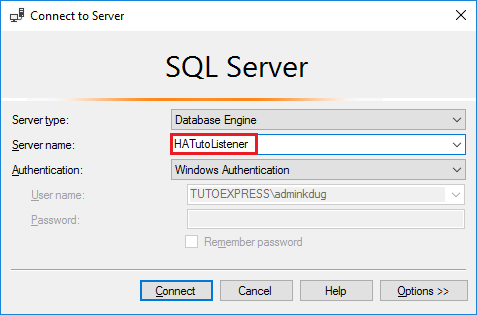
Now you can log in from the listener I named HATutolistener
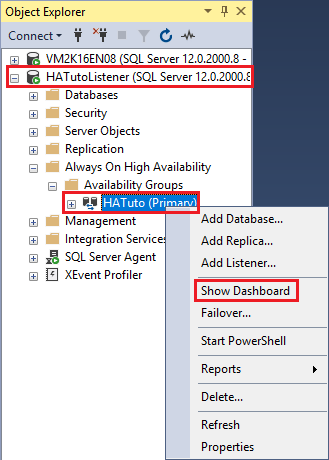
You will see the presence of your availability group in Always On High Availability.
Right click on HATuto group then Show Dashboard
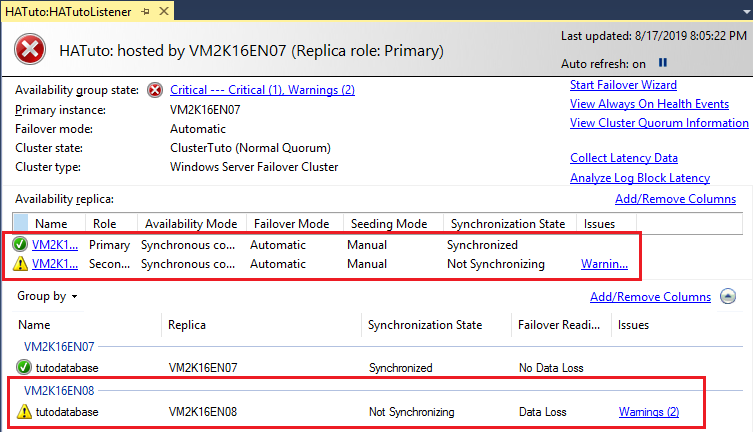
Although our availability group is created, we can observe synchronization only on the primary server. In case of a failure of this one, the availability group will no longer be accessible.
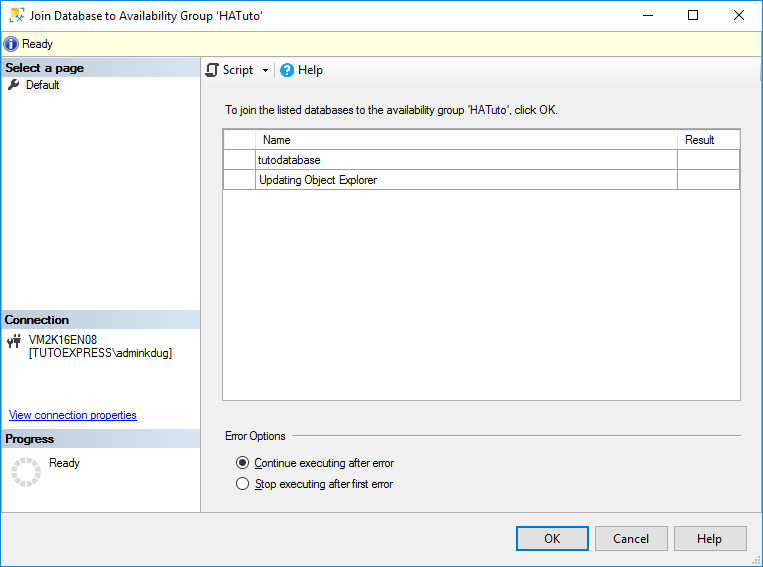
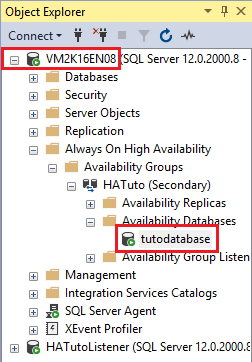
To add the second node, connect to this server. Follow the tree below to access the database to synchronize. Right click on it and then Join to Availability Group …

Validate for the action to be performed
The database goes green to indicate that there is no more anomaly
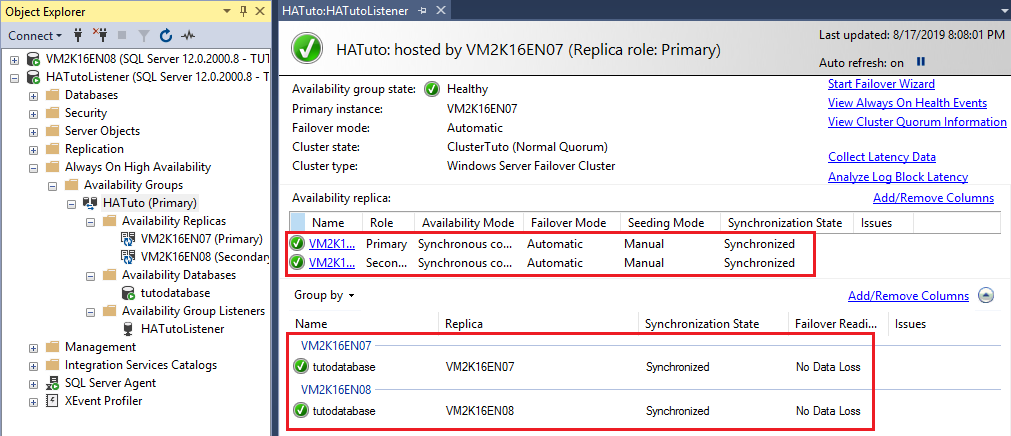
By reconnecting to the availability group and revisiting the dashboard, the warning message is gone and the database is in Synchronized state.
Function test
Our configuration is complete. Before adding sensitive data, it is better to test the robustness of the manipulations.
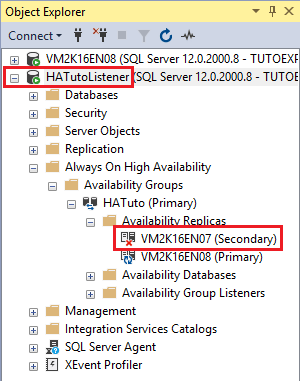
For example, shut down the primary server.
Since the secondary server, become primary after the extinction of its predecessor, access to HATutoListener is still possible and changes in the database must be functional.
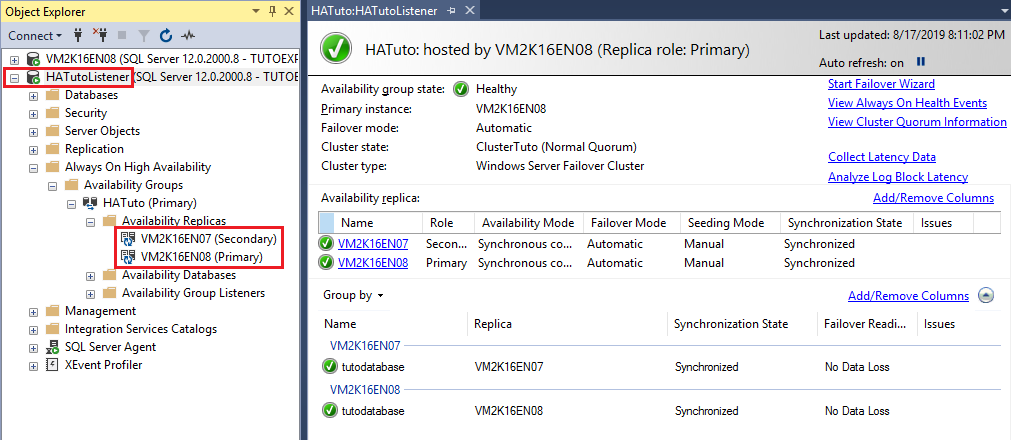
You can turn on the server that you turned off. After a few minutes, check out the HATuto Dashboard. The synchronization was well done
To know
You can view the IP Servers / Cluster / SQLAlwaysOn addresses from the ipconfig / all command in a cmd or powershell prompt on one of the servers in the cluster

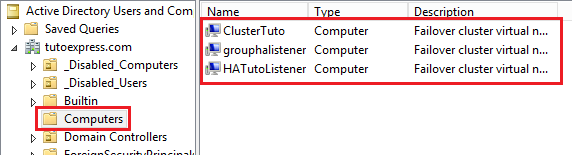
Here are the DNS entries added when creating the Failover Cluster and SQL Always On