A failover cluster is a group of computers working together to increase the availability and scalability of clustered roles.
Servers in a cluster are called nodes & are connected by physical cables or by software.
In one case of failure of one node, other nodes are able to take over by restarting or moving the services to another node (process called failover), through proactive monitoring for role verification.
In this tutorial, we are going to set up a failover cluster, with the goal of making Windows Server Failover Cluster & SQL Server AlwaysOn failover.
Procedure
Install the Failover Cluster feature
This step must be performed on all the servers constituting the cluster.
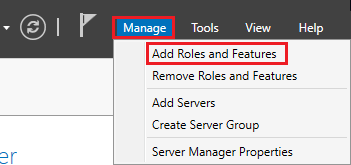
First, install the Failover Cluster role. In Server Manager, click Manage then Add Roles and Fetaures
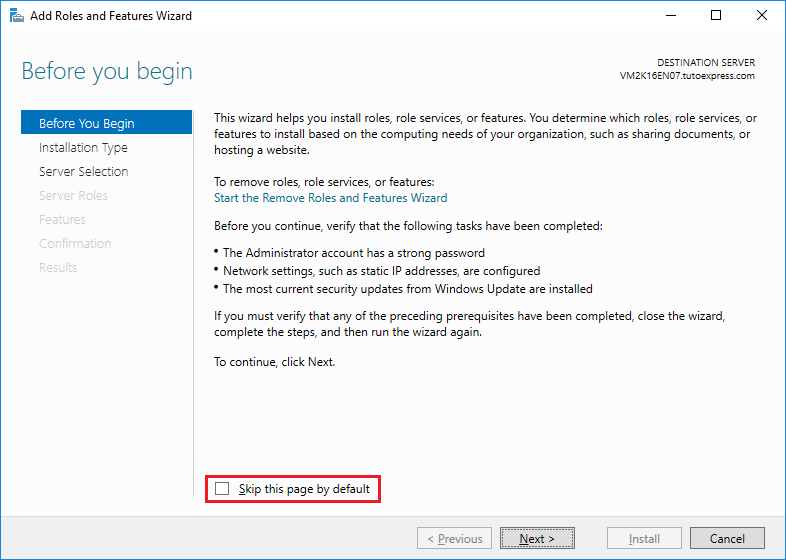
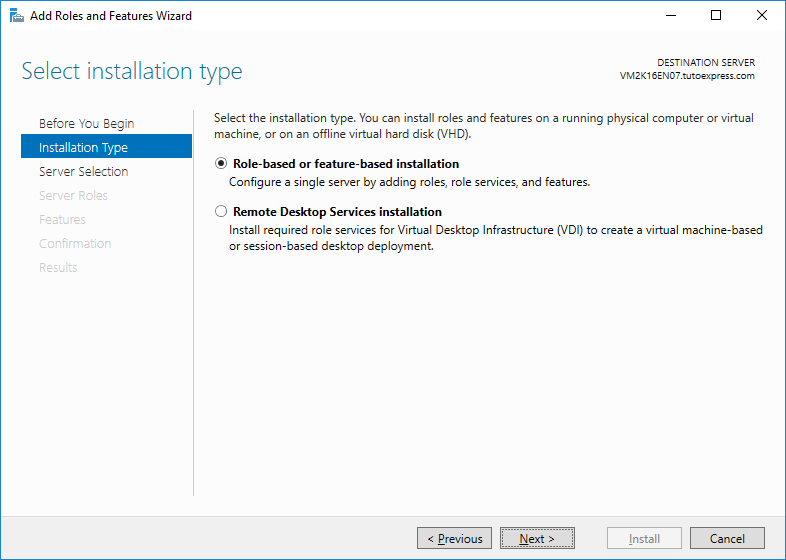
The Before you begin page appears. You can no longer display this step by checking the Skip this page by default box.
To add roles and features, check Role-based or feature-based installation
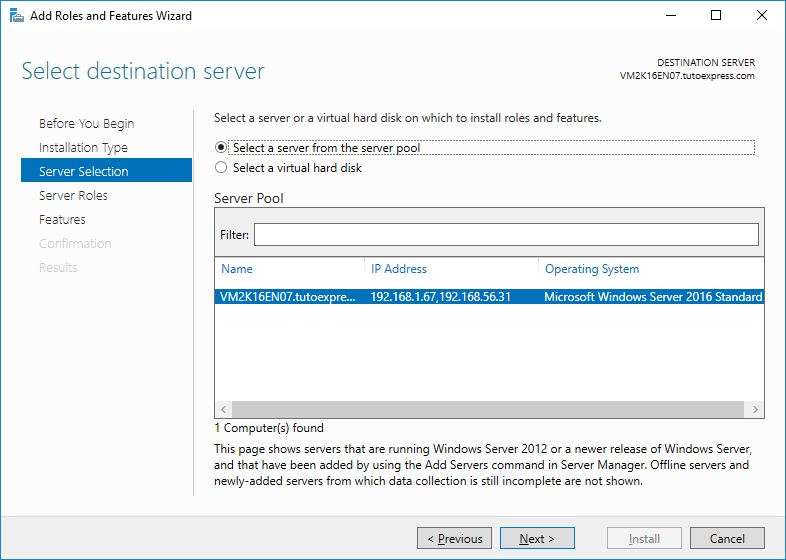
Select the server(s) on which to install the features
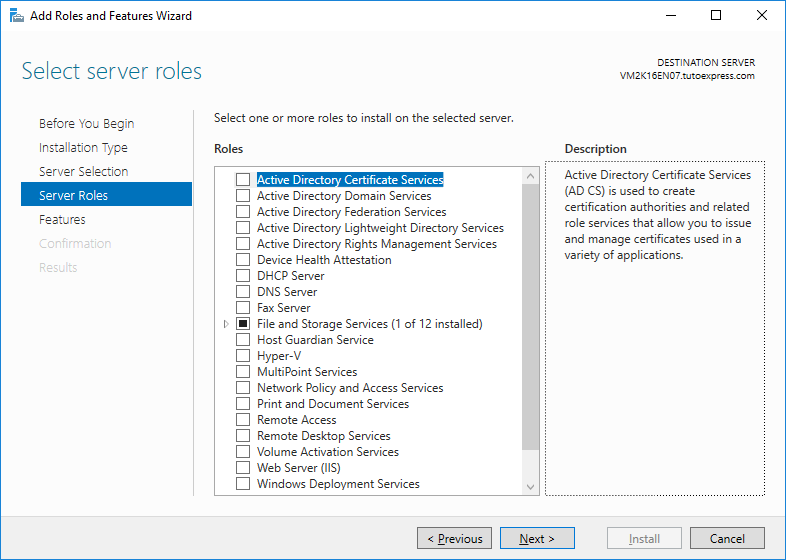
In Server Roles you have nothing to select. Take the next step
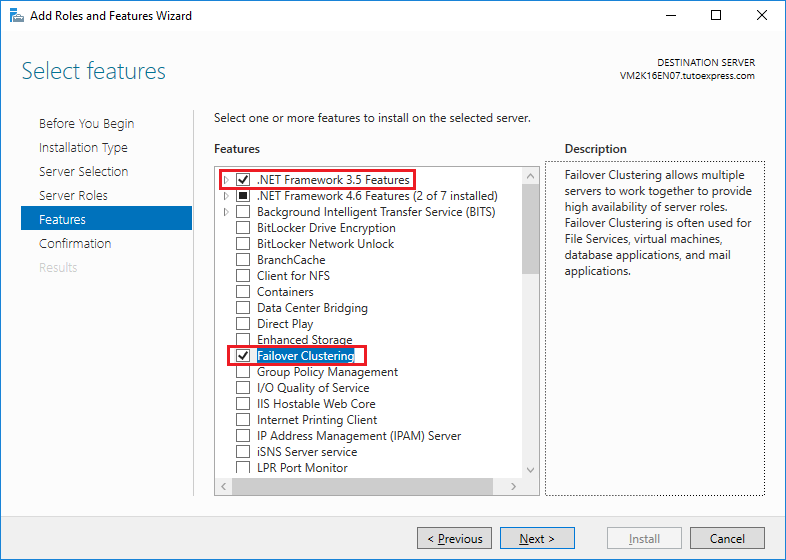
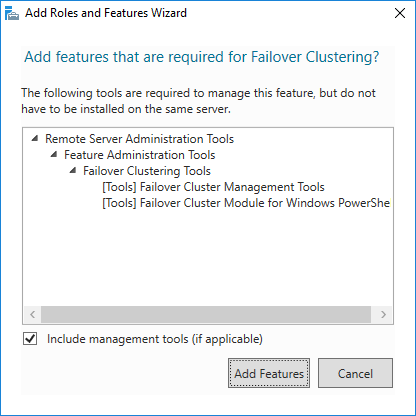
In Features, select .NET Framework 3.5 Features which is a prerequisite for our next SQL Server installation. Then, also select Failover Clustering
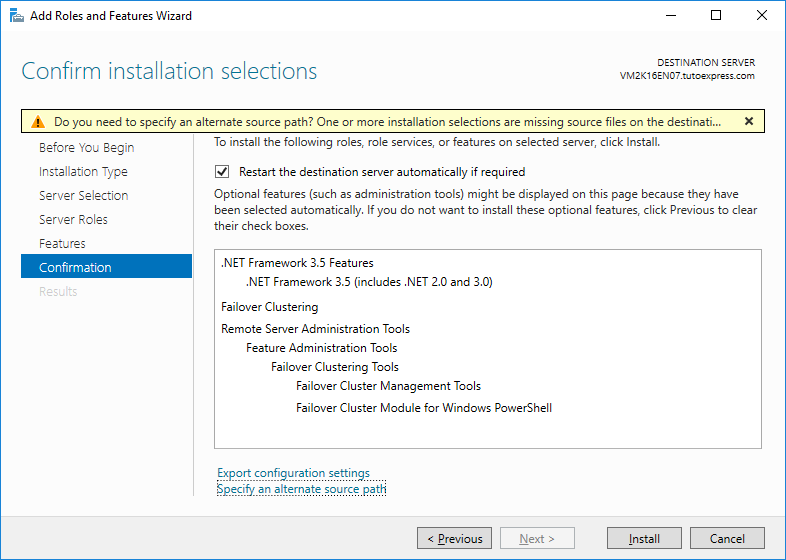
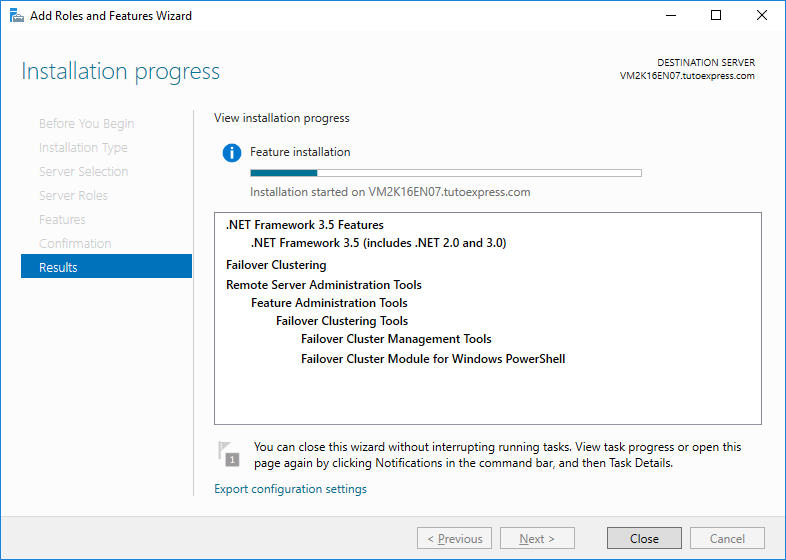
Finally, confirm your choice by launching the installation
This step can take several minutes. It is also possible that security updates related to the installation of Framework 3.5 appear in Windows Update. I advise you to install them quickly, before having constraints related to the final commissioning of your server.
Create the Windows cluster
Now, we will create the Windows Cluster with previously installed features. This step is to be performed on a single server.
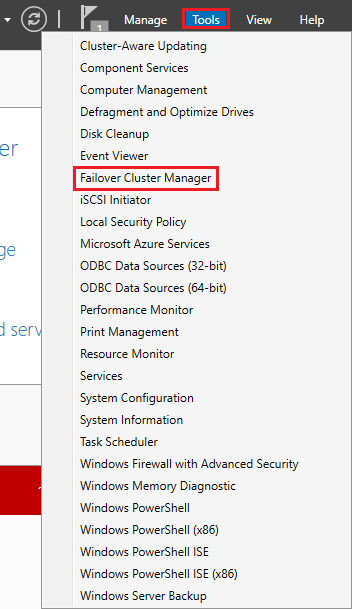
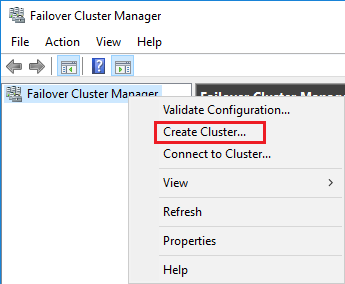
When the installation is complete, you can launch Failover Cluster Manager. This one is in Server Manager then Tools
Right click on Failover Cluster Manager then Create Cluster …
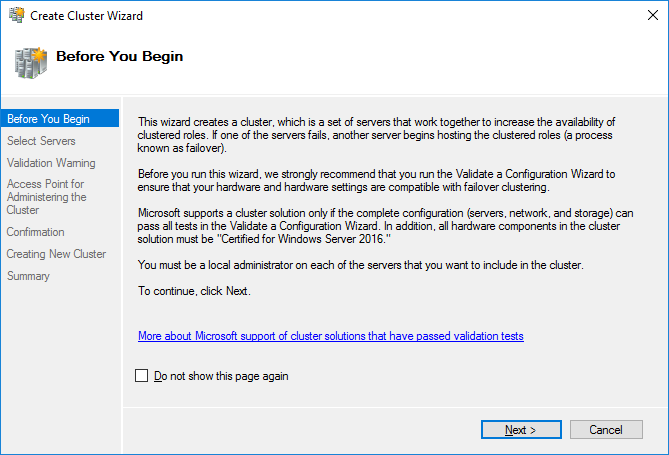
The Before You Begin page appears. You can also check the Do not show this page again box to stop displaying this page.
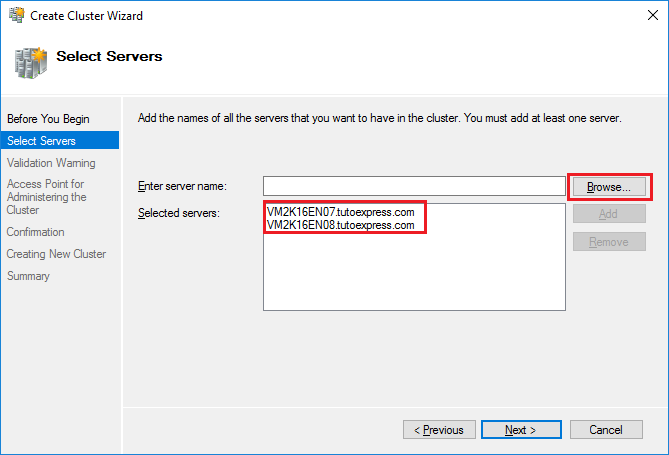
Then add all the servers that will form the cluster.
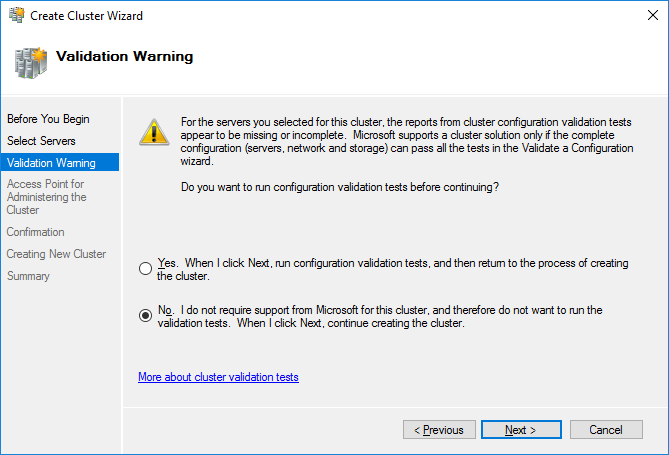
Here, check the strategy you want to use …
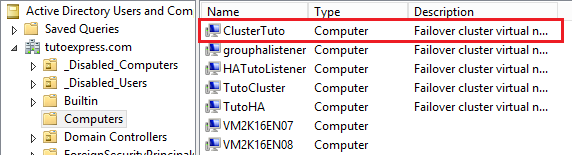
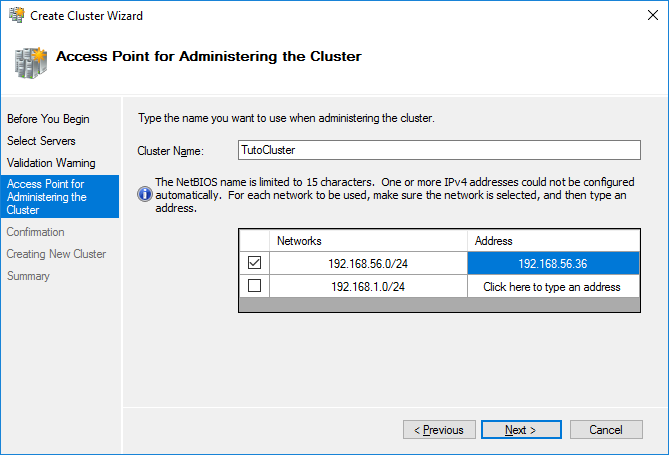
Then fill in the name of the cluster and the IP address of the cluster. The cluster name will be created as a computer object in the Active Directory. The IP address will be created in as a Host (A) entry in the DNS. *
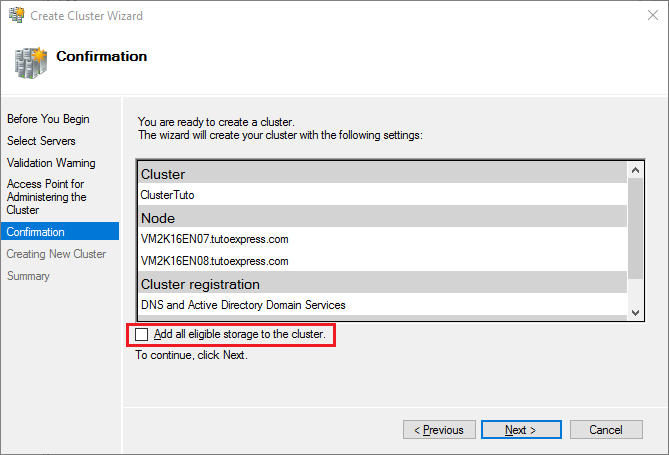
Make sure you uncheck the box Add all eligible storage to the cluster and confirm your choice
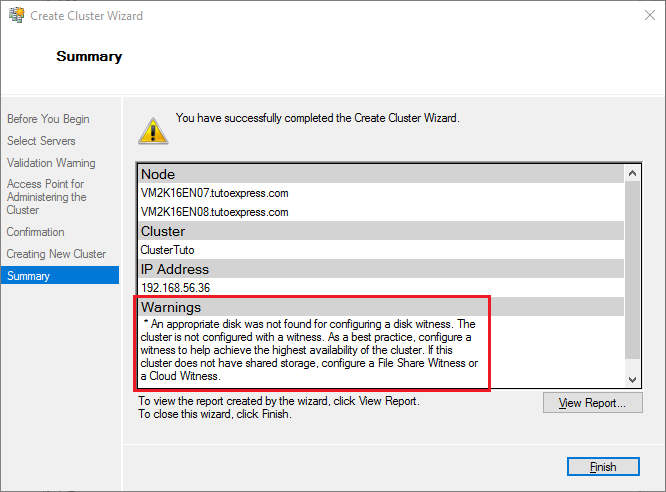
Now, your cluster is created. A warning appears because we have not configured a quorum. That’s what we will do right away.
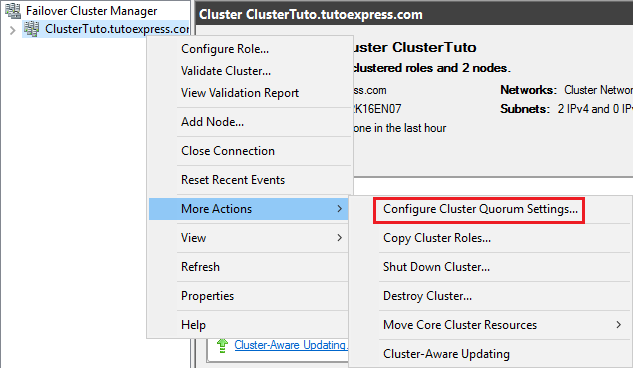
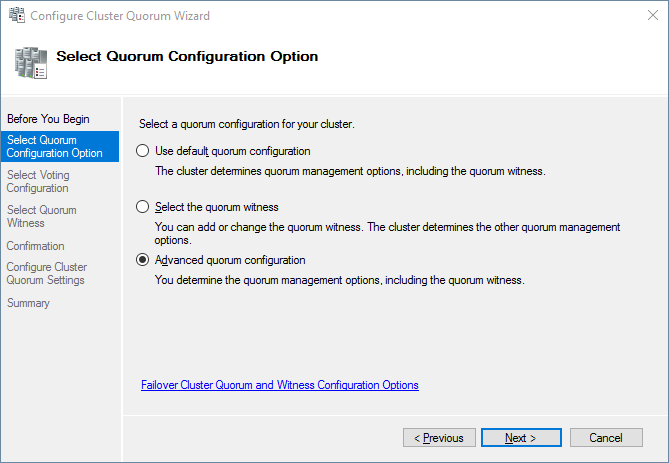
To configure the Quorum of this cluster, right-click on it, then Configure Cluster Quorum Settings …
Choose the option Advanced quorum configuration
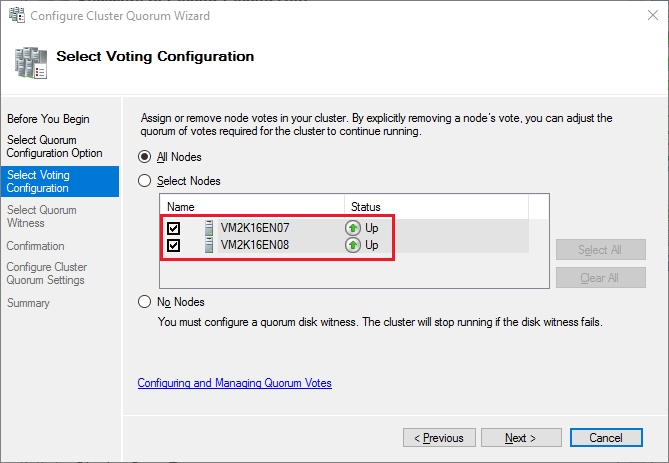
Then, select all the servers (nodes), constituting the cluster
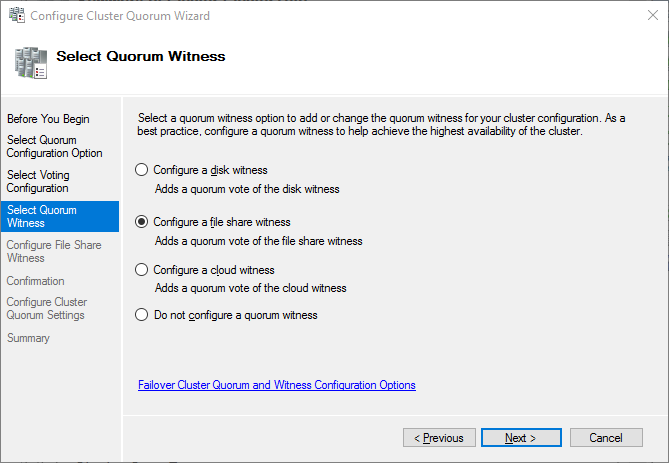
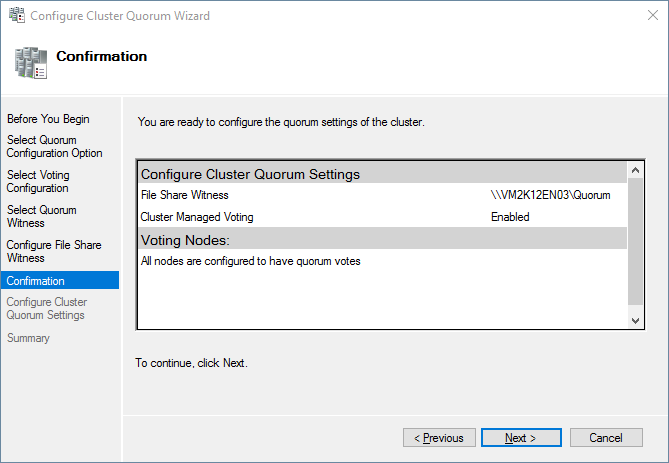
Choose the option Configure a file share witness
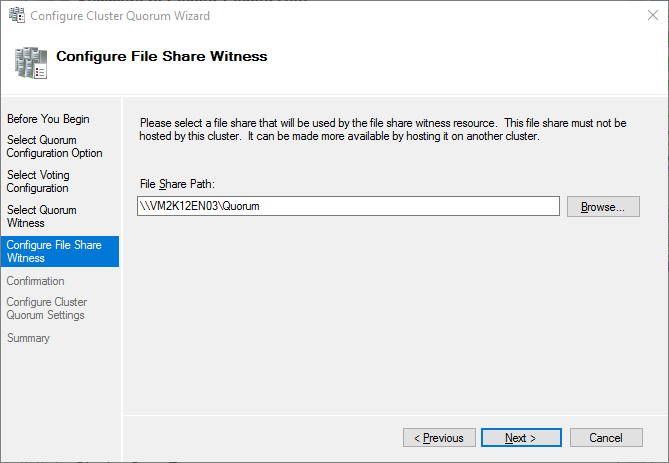
Enter a shared location that will be used by the file share witness. This share must not be located on one of the cluster nodes.
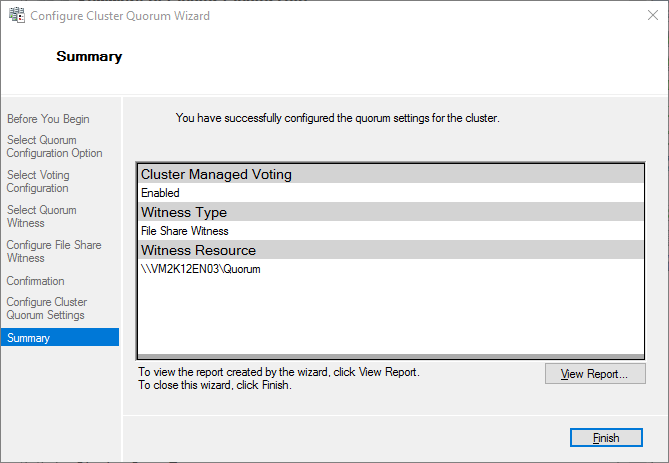
Confirm your choice for the creation of Quorum
The quorum has been created. Your cluster is now functional.
You can check your cluster information in Failover Cluster Manager. You will notice that both servers in this cluster are up.

Bonus
I told you about a computer object linked to the cluster name and to a DNS host (A) entry, automatically created when adding the cluster. Here are the examples for this tutorial: