Fail2ban is a free tool, which allows to ban from your system, IP addresses that exceed certain constraints you have set, preventing any connection.
With progress and significant increases in performance, dictionary and brut force attacks are faster and more effective. As a result, the demand for password complexity has been growing in recent years.
Fail2ban allows you to limit the number of attempts to access a system. Indeed, it will not give an attacker time to perform unlimited manipulations to compromise your system.
But, how ?
Depending on the configured settings, this tool will block from your system (for a specified time), IP addresses that have made X incorrect attempts to connect to your system.
The attacker will therefore no longer be able to make intrusion attempts after 3,4,5… attempts to make dictionary attacks and brutal force ineffective.
Procedure
First, to install Fail2Ban on CentOS, you must first install the EPEL repository (Extra Packages for Enterprise Linux). EPEL contains additional packages for all versions of CentOS. One of them is the Fail2Ban package.
yum install epel-release
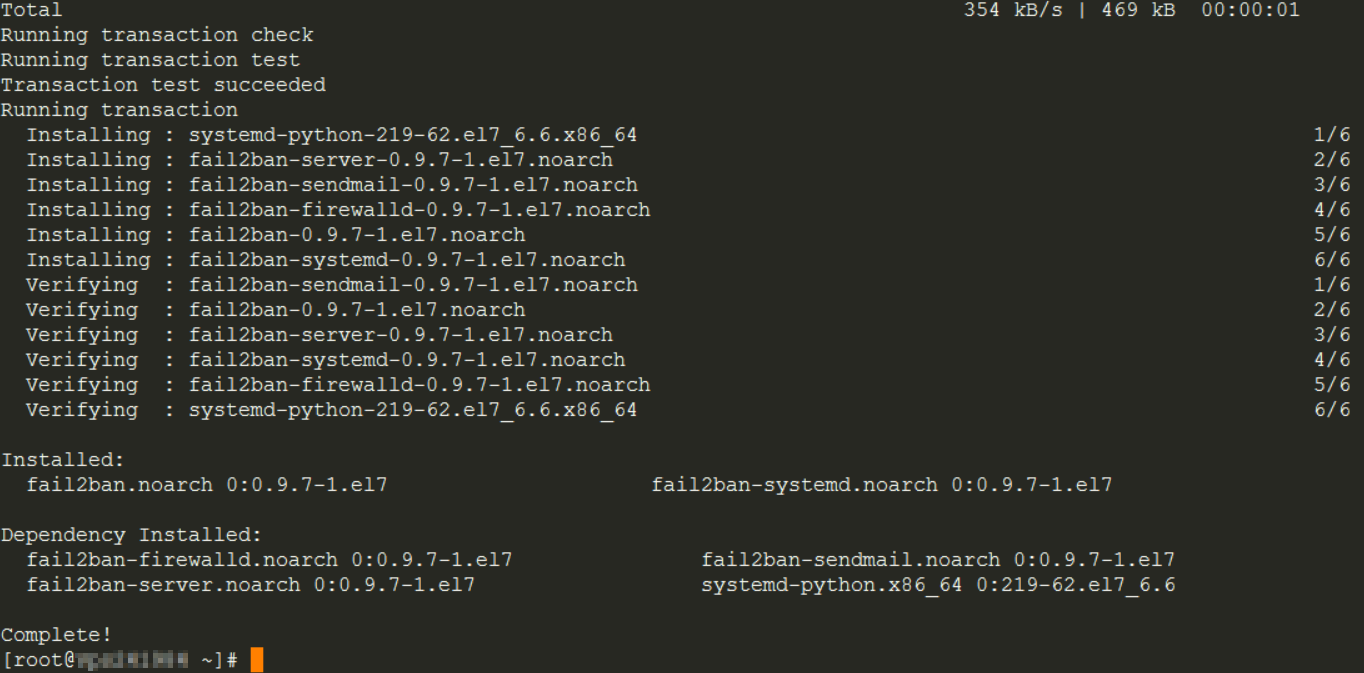
yum install fail2ban fail2ban-systemd
If SELinux is installed, update the policies
yum update -y selinux-policy*
Then configure it. Create a copy of the jail.conf configuration file before editing it. Be careful not to directly modify the original file.
cp /etc/fail2ban/jail.conf /etc/fail2ban/jail.d/customisation.local

Then edit it
vi /etc/fail2ban/fail.d/customisation.local

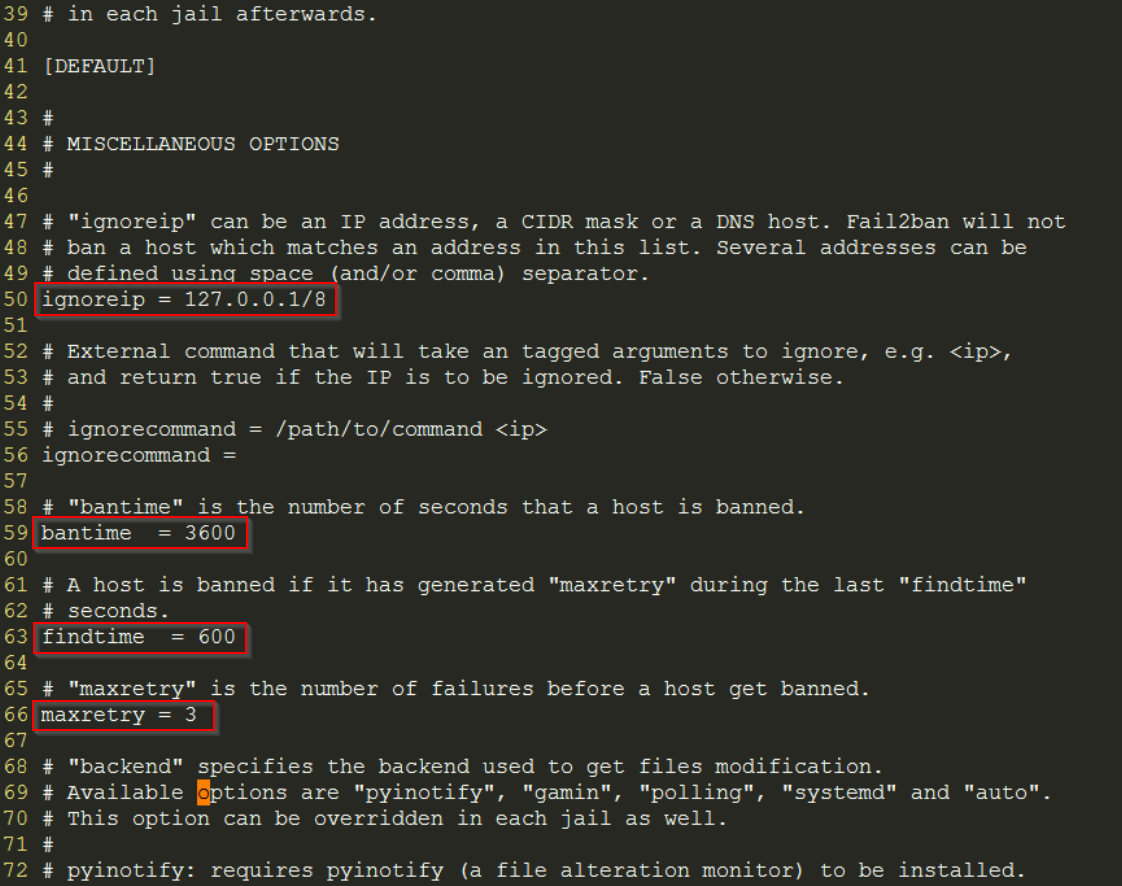
First, tell Fail2Ban which IP addresses not to block. To do this, we modify the values of the “ignoreip” variable as below (line 50):
ignoreip = 127.0.0.1/8 XXX.XXX.XXX.XXX YYY.YYY.YYY.YYY …

By default, Fail2Ban configuration blocks IP addresses for 10 minutes, if they generate 5 errors within 10 minutes.
To modify the global parameters of Fail2Ban, you must change the value of the following variables:
- Blocking time: bantime (line 59)
- Test duration: findtime (line 63)
- Number of attempts: maxretry (line 66)
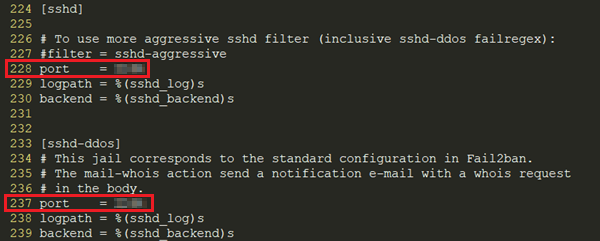
Once the global configuration has been adapted to your needs, you can create a new local jail or continue to modify it for the SSH service.
vi /etc/fail2ban/jail.d/jail.local
Running Fail2Ban service
Activate the service when the machine starts, then start it.
systemctl enable fail2ban

systemctl start fail2ban

Tracking failed login entries
To identify the blocked IP addresses when trying to connect by ssh, use the following command:
cat /var/log/secure | grep 'Failed password'
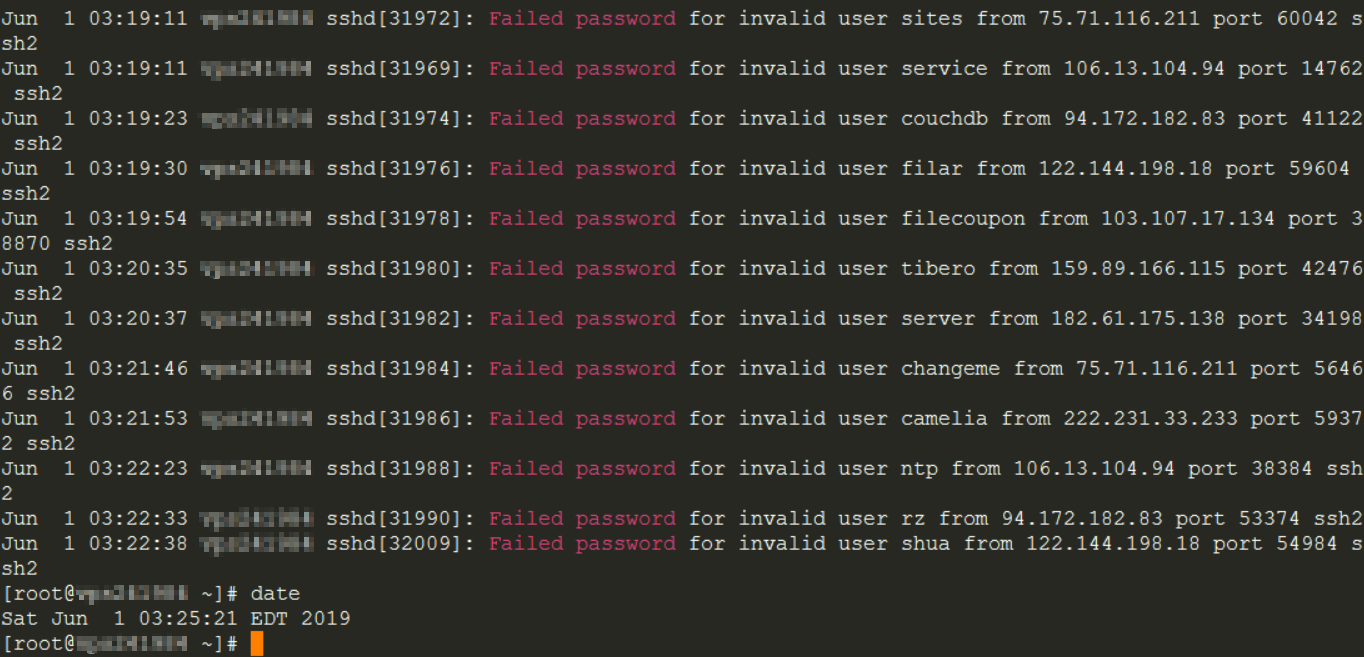
tail –n 10 /var/log/secure

To check that the configuration is working properly, make multiple connection attempts to a computer. This must be blocked 1 hour after 3 wrong attempts.
View the Fail2Ban Status
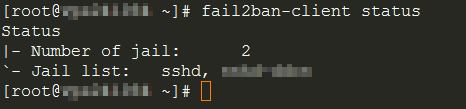
Use this command to check the status of Fail2Ban configured jails:
fail2ban-client status
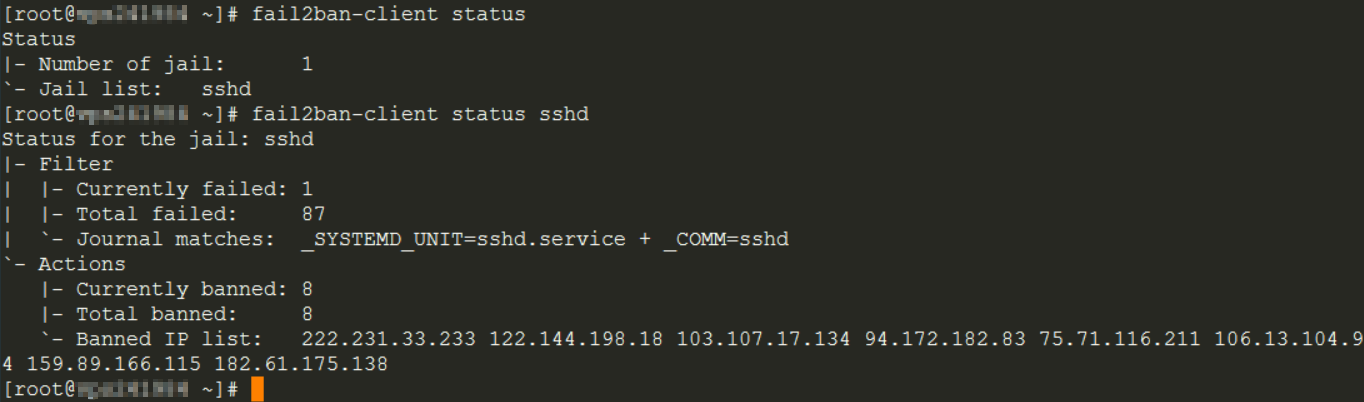
Then, to get specific information about a jail, use the command (example for sshd):
fail2ban-client status sshd
Unbanning an IP address
Finaly, to remove an IP address from the list of blocked addresses, locate the IP address and jail that are concerned:
fail2ban-client set jail_Name unbanip IP_ADDRESS
Fail2ban web site : Here