Windows Active Directory server delivers essential features in a business. Indeed, this one proposes the creation of domain, to the machines of the domain to share directory information.
Active Directory manages communication between domains and users. It provides authentication and searches in the directory.
In this tutorial, we will see how to install an Active Directory with Microsoft Windows Server 2012. We will promote this server as a domain controller.
Procedure
Active Directory Installer
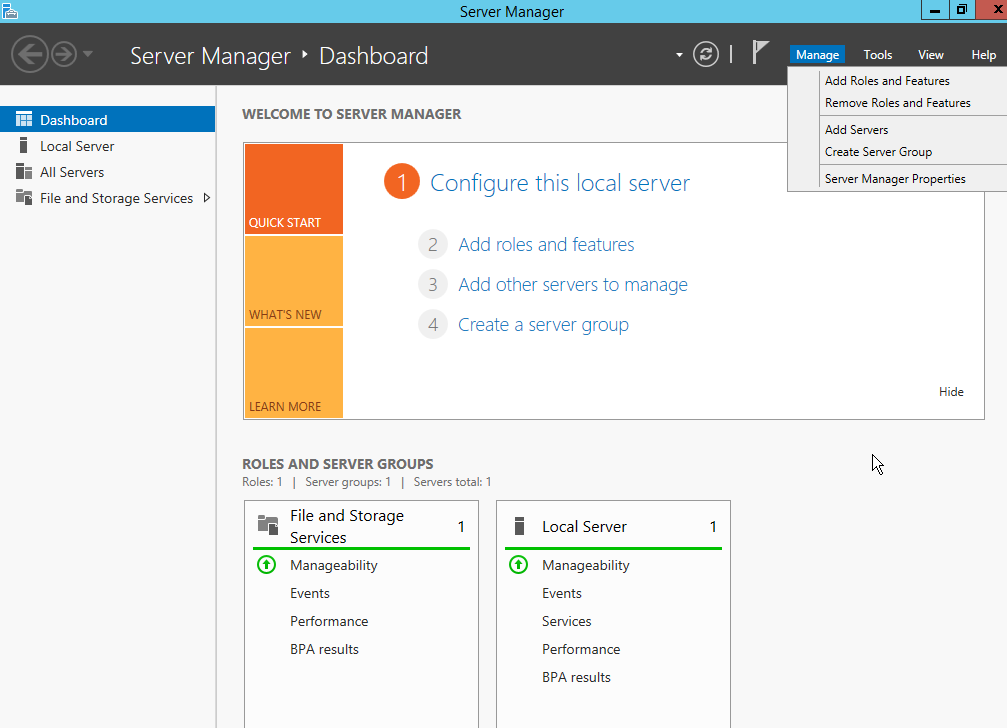
First, go to Manage then Add roles and features
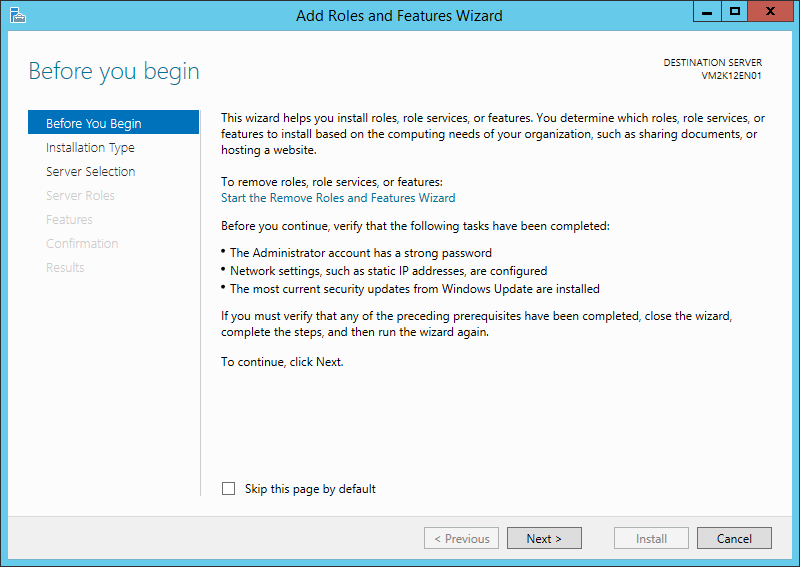
When the Before you Begin page appears, do Next
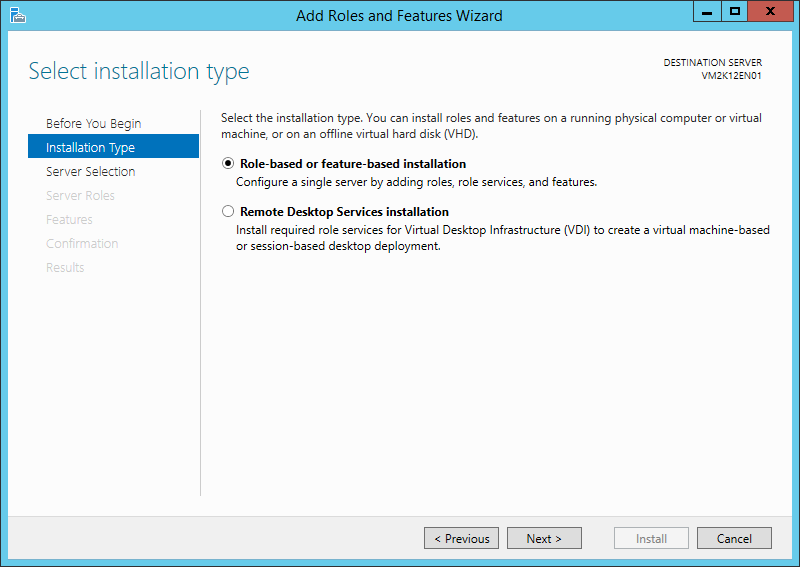
To add a role or feature, check role-based or feature-based installation
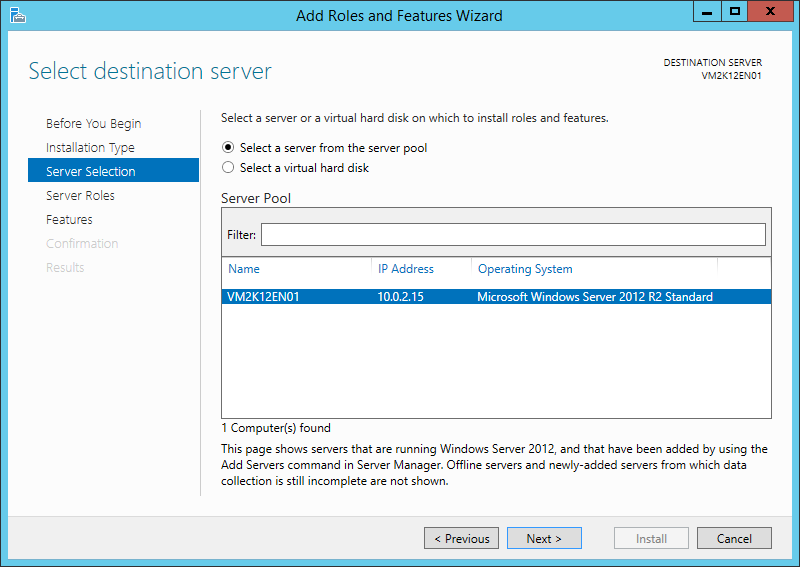
Then, choose the server on which to do your installation
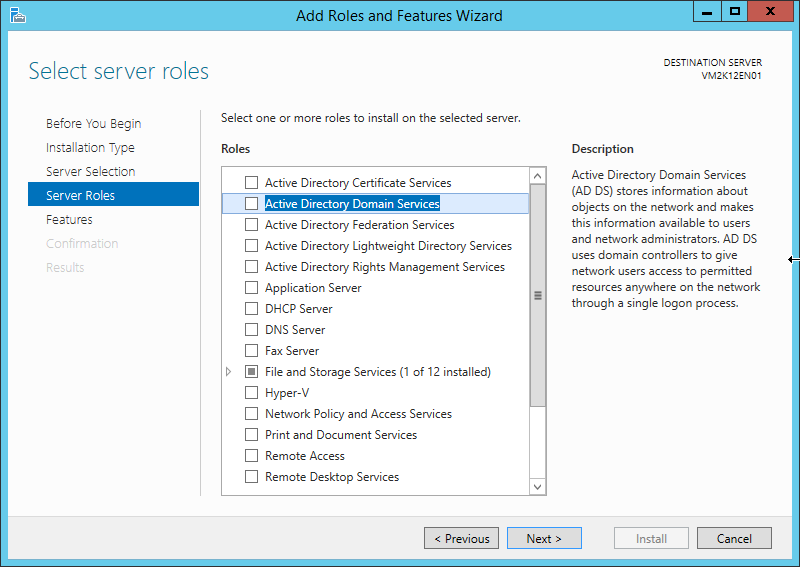
Check Active Directory Domain Services and continue
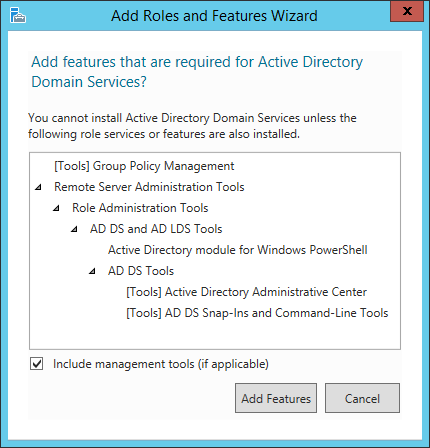
A window will appear specifying the included roles and features. Make Add Features
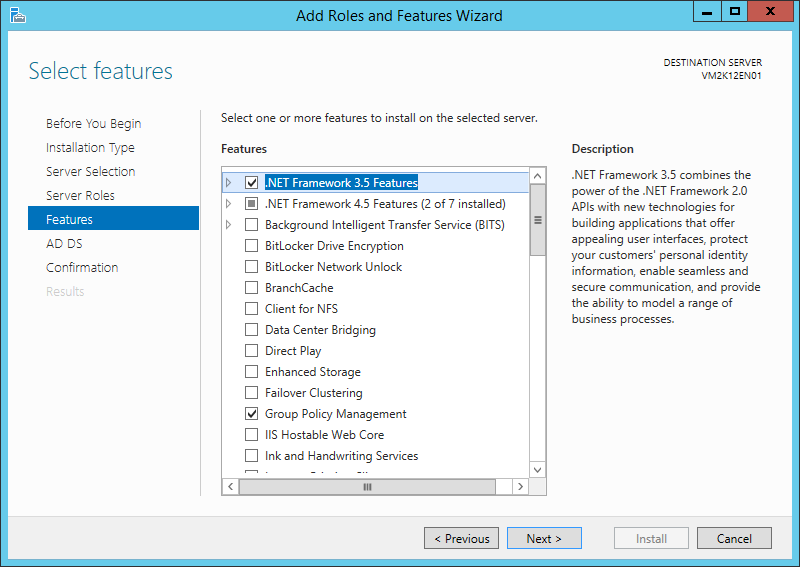
In Features, do Next. We decided to install the .NET Frameword 3.5 Features. This is not an obligation.
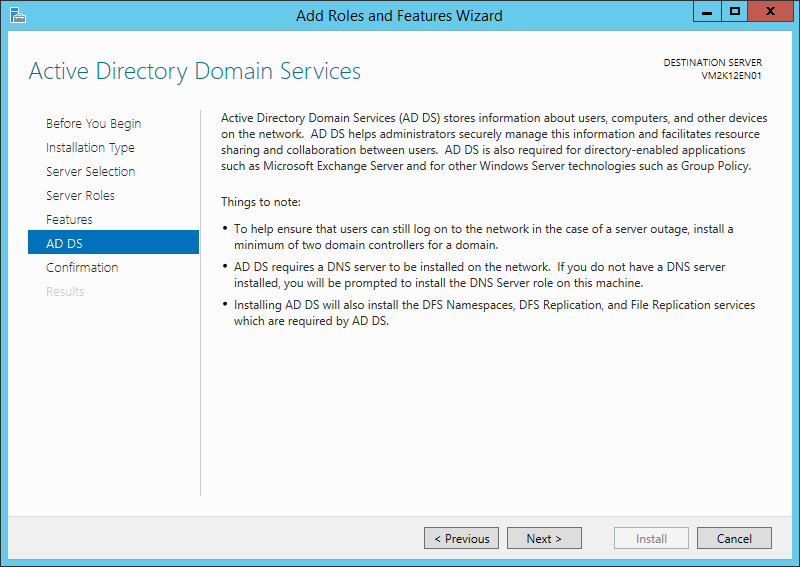
On this page, do Next
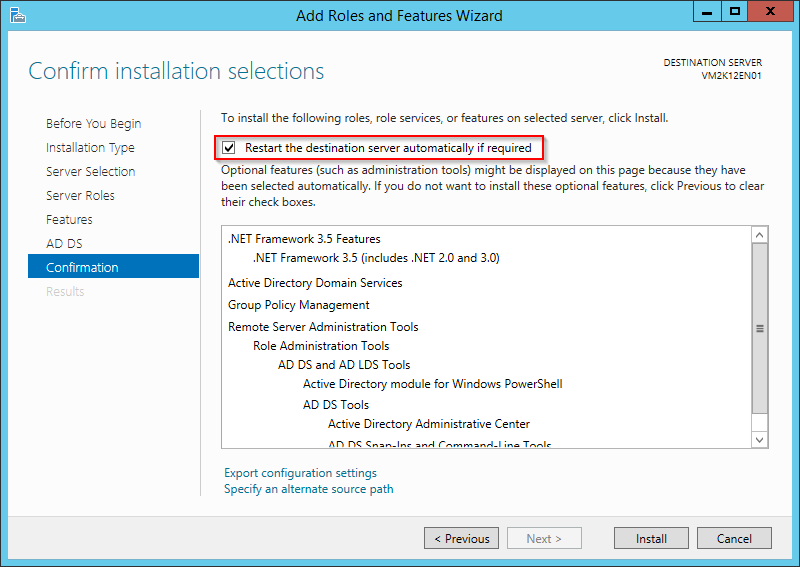
A confirmation appears. Check Restart the destination server automatically if required, then start the installation
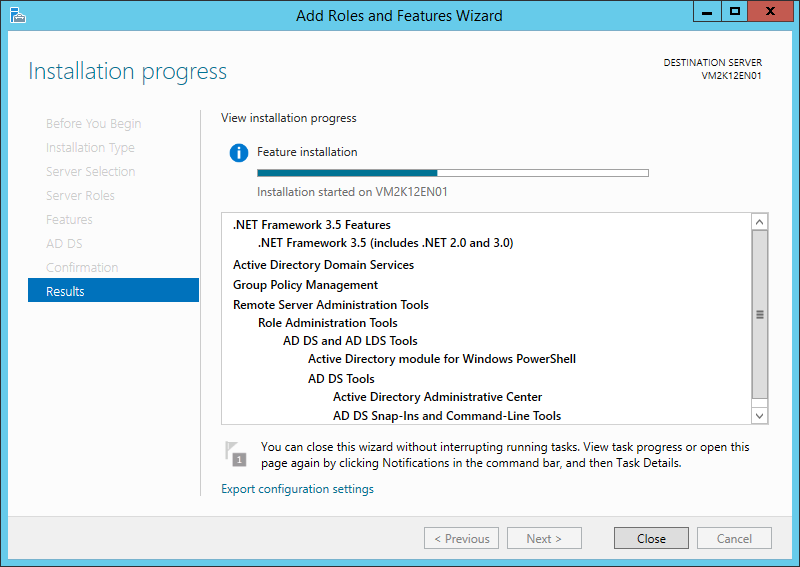
Wait during the installation …
When your active direcroty service is installed, you must promote your server as a domain controller.
Promote a server as a domain controller
From your Server Manager window, you can notice the appearance of a warning triangle.
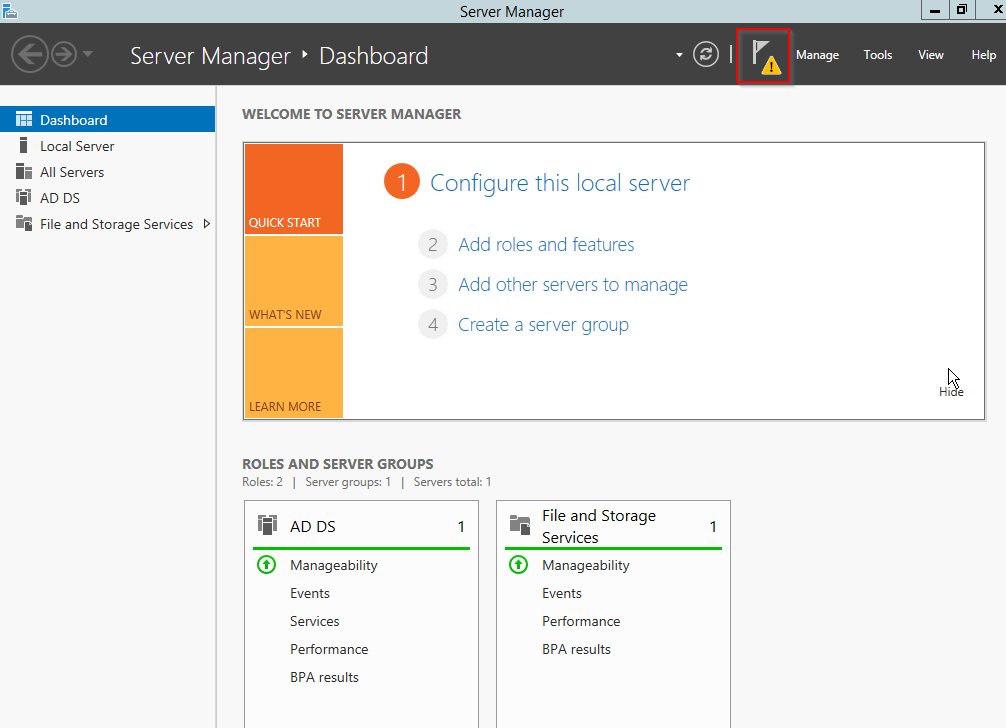
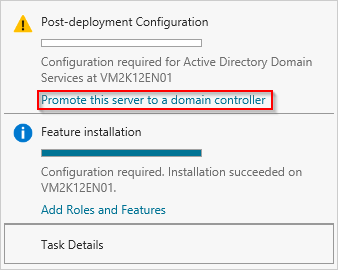
Click on it and select Promote this server to domain controller.
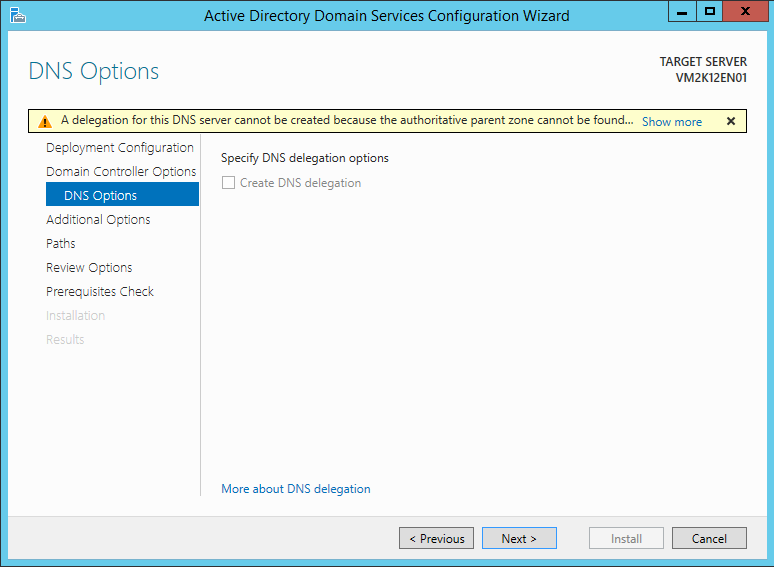
In our case, we will add a new forest. For this part, adapt to your case.
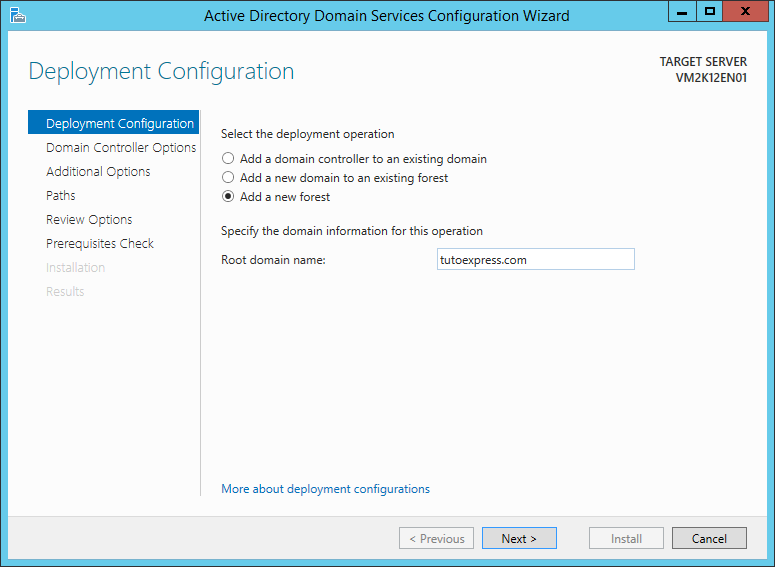
- Domain controller to an existing domain : Allows you to add an additional domain controller to an existing domain
- New domain to an existing forest : Add a new domain to an existing forest
- New forest : Add a new forest
Then fill in the Root domain name
Choose Forest functional level and Domain functional level.
Then, fill in the Directory Services Restore Mode (DSRM) password.
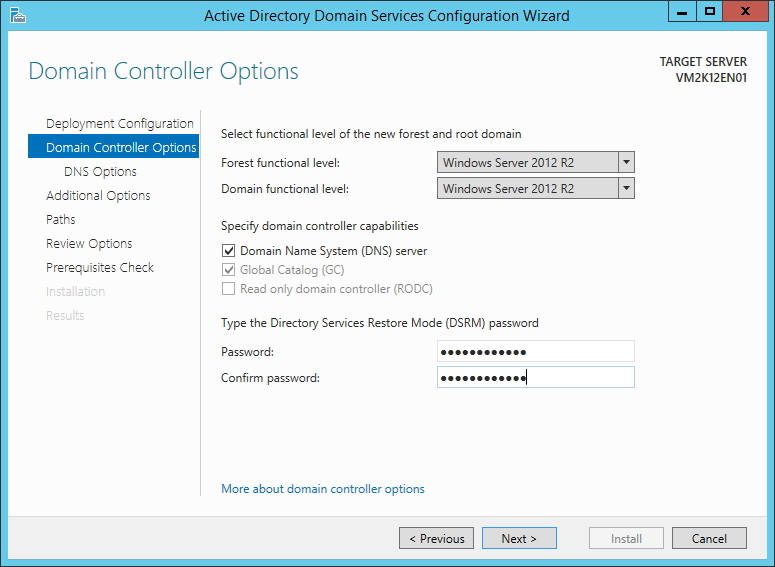
Go on, press Next
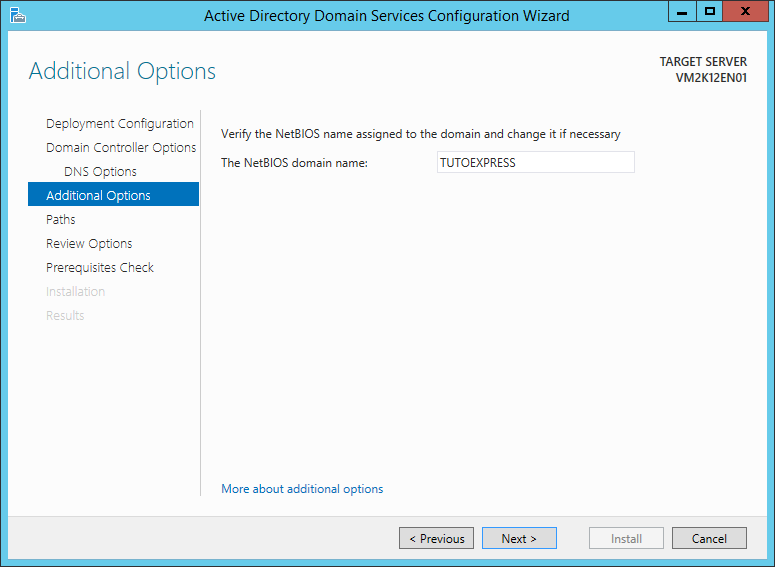
The NetBIOS domain name appears automatically, its value does not need to be changed. Do Next
You have the option to redefine the paths to the items below:
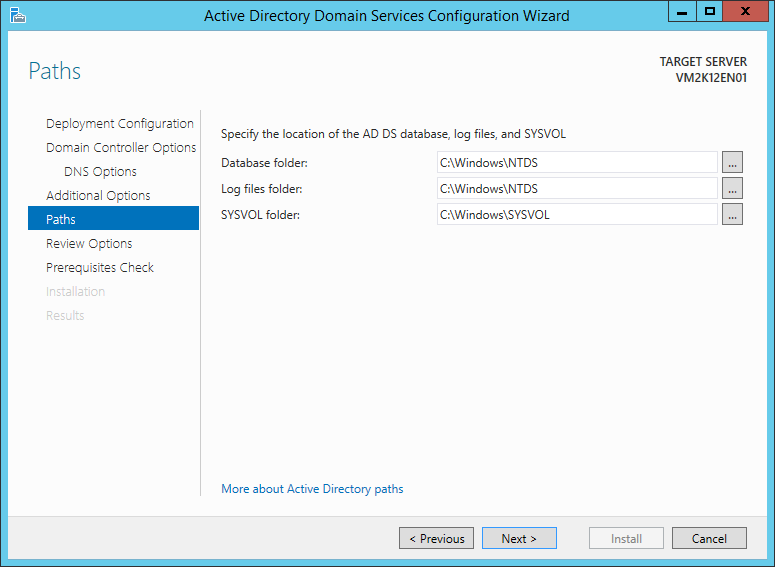
- Database folder: This is the physical active database. This is where the active directory stored data. It holds domain info, info schema and configuration info. Mainly it contains 3 tables (Link table, Data table, Security Depositor table).
- Log files folder: It is the transaction log maintain by system to store the transaction file (edb), the active directory database the file type which will store log entries if edb.log file full.
- SYSVOL folder: means System Volume, which is common to the domain. This share will be created when the DC.
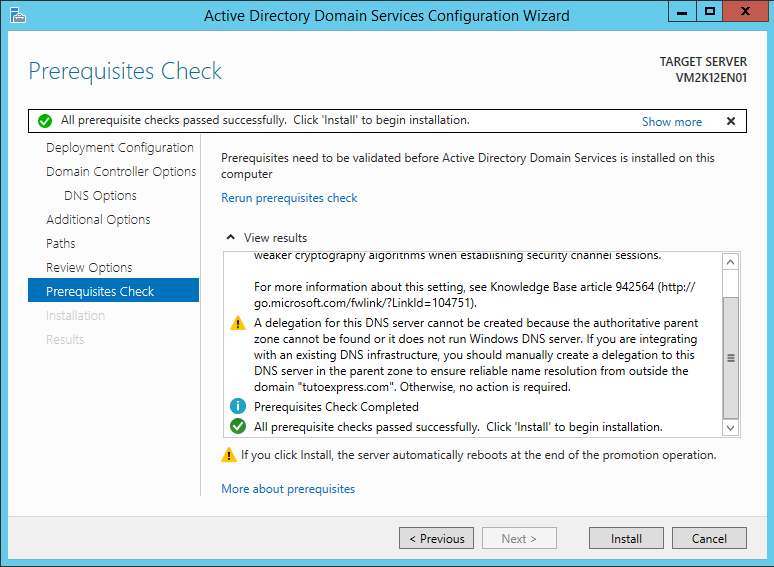
Check the options you selected earlier. When everything is correct, do Next

Now, you can start the installation.
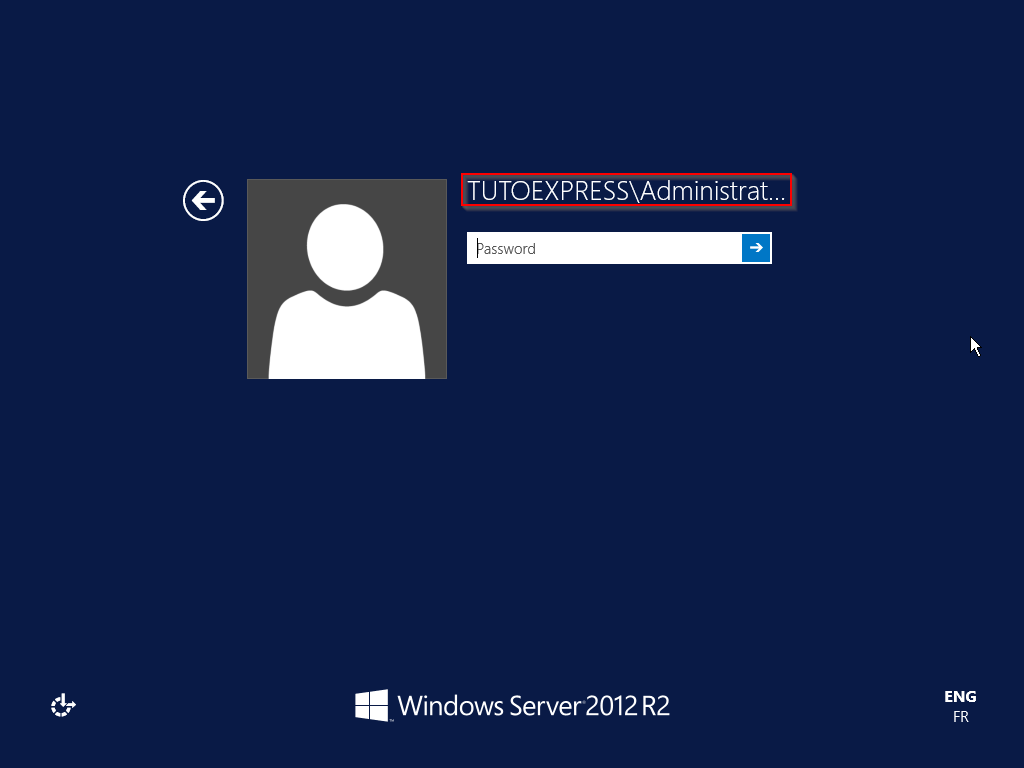
When your installation is complete, your server will automatically restart. At login, you will see that authentication is now done through your domain.
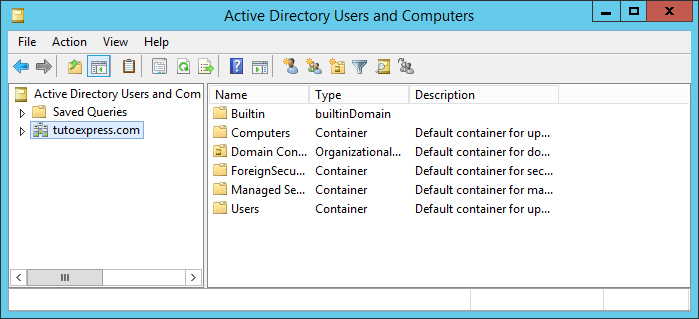
Finally, you can see that new features are available in your server’s Tools
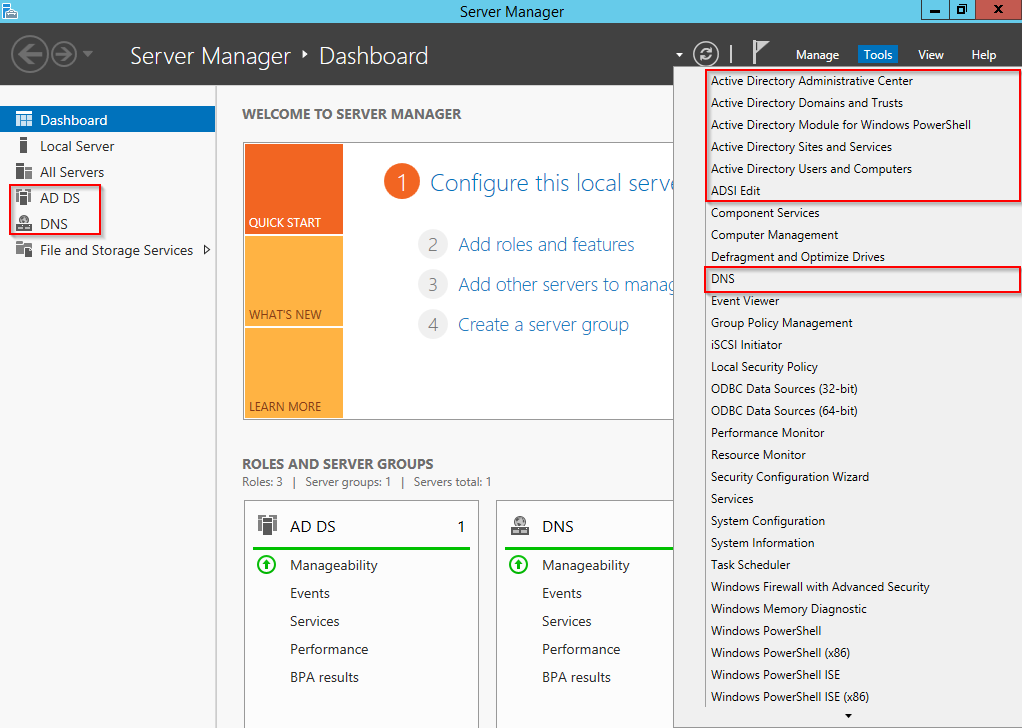
Example for Active Directory Users and Computers